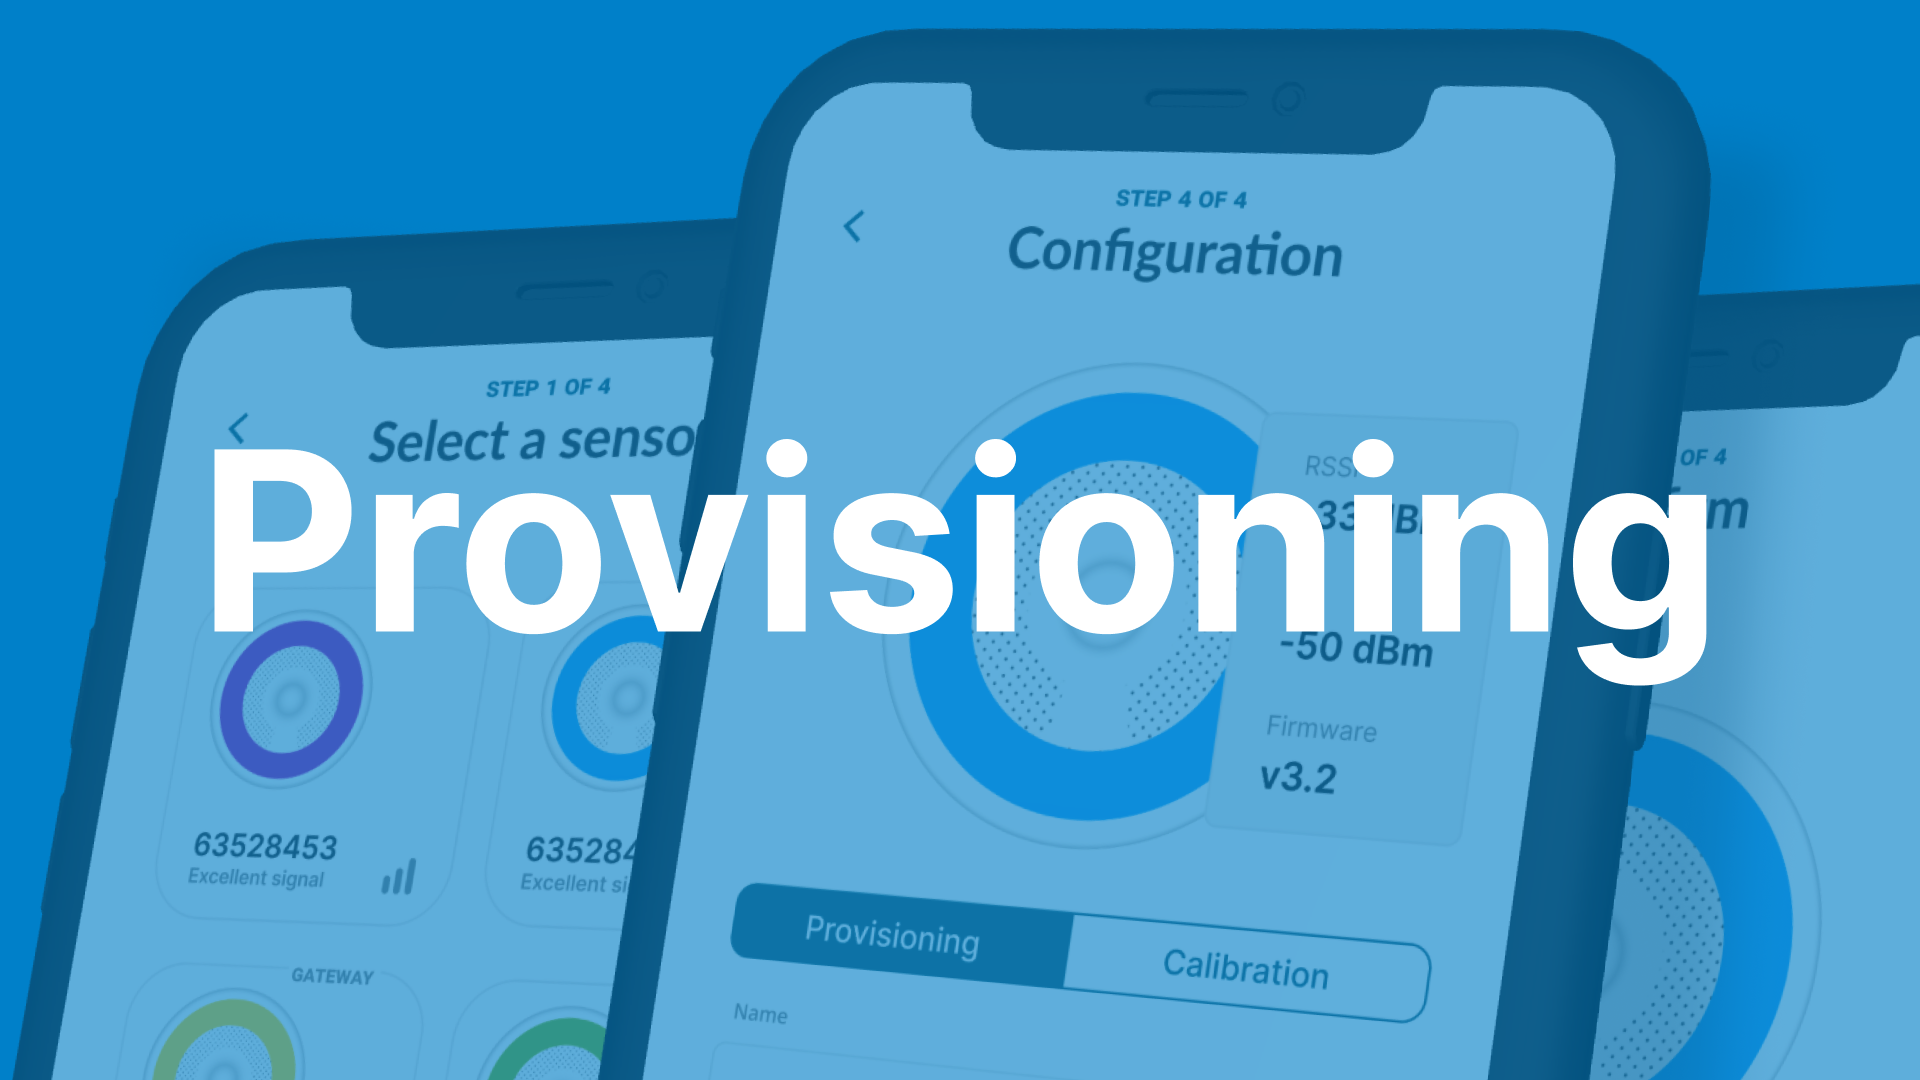
Provisioning
Overview
viaSens devices are provisioned in Bluetooth Low Energy (BLE) Mesh networks, which allows them to communicate securely and efficiently. Networks consist of one gateway and multiple node devices.
In BLE Mesh networking, each device in the network has a unique identifier consisting of a Network ID and a Node ID.
Network ID: The Network ID is a globally unique identifier for the entire mesh network. It ensures that devices belonging to different networks don't interfere with each other. The Network ID is typically distributed by the network administrator or generated dynamically during network initialization.
Node ID: The Node ID is a unique identifier assigned to each device within the mesh network. It distinguishes one device from another within the same network. Node IDs are used for addressing and routing purposes within the mesh network. Each device communicates with others by using its Node ID to send and receive data packets. Node IDs are typically assigned during network provisioning or commissioning process.
In summary, the Network ID identifies the entire mesh network, while the Node ID identifies individual devices within the network. Together, they facilitate communication and management within a BLE Mesh network.
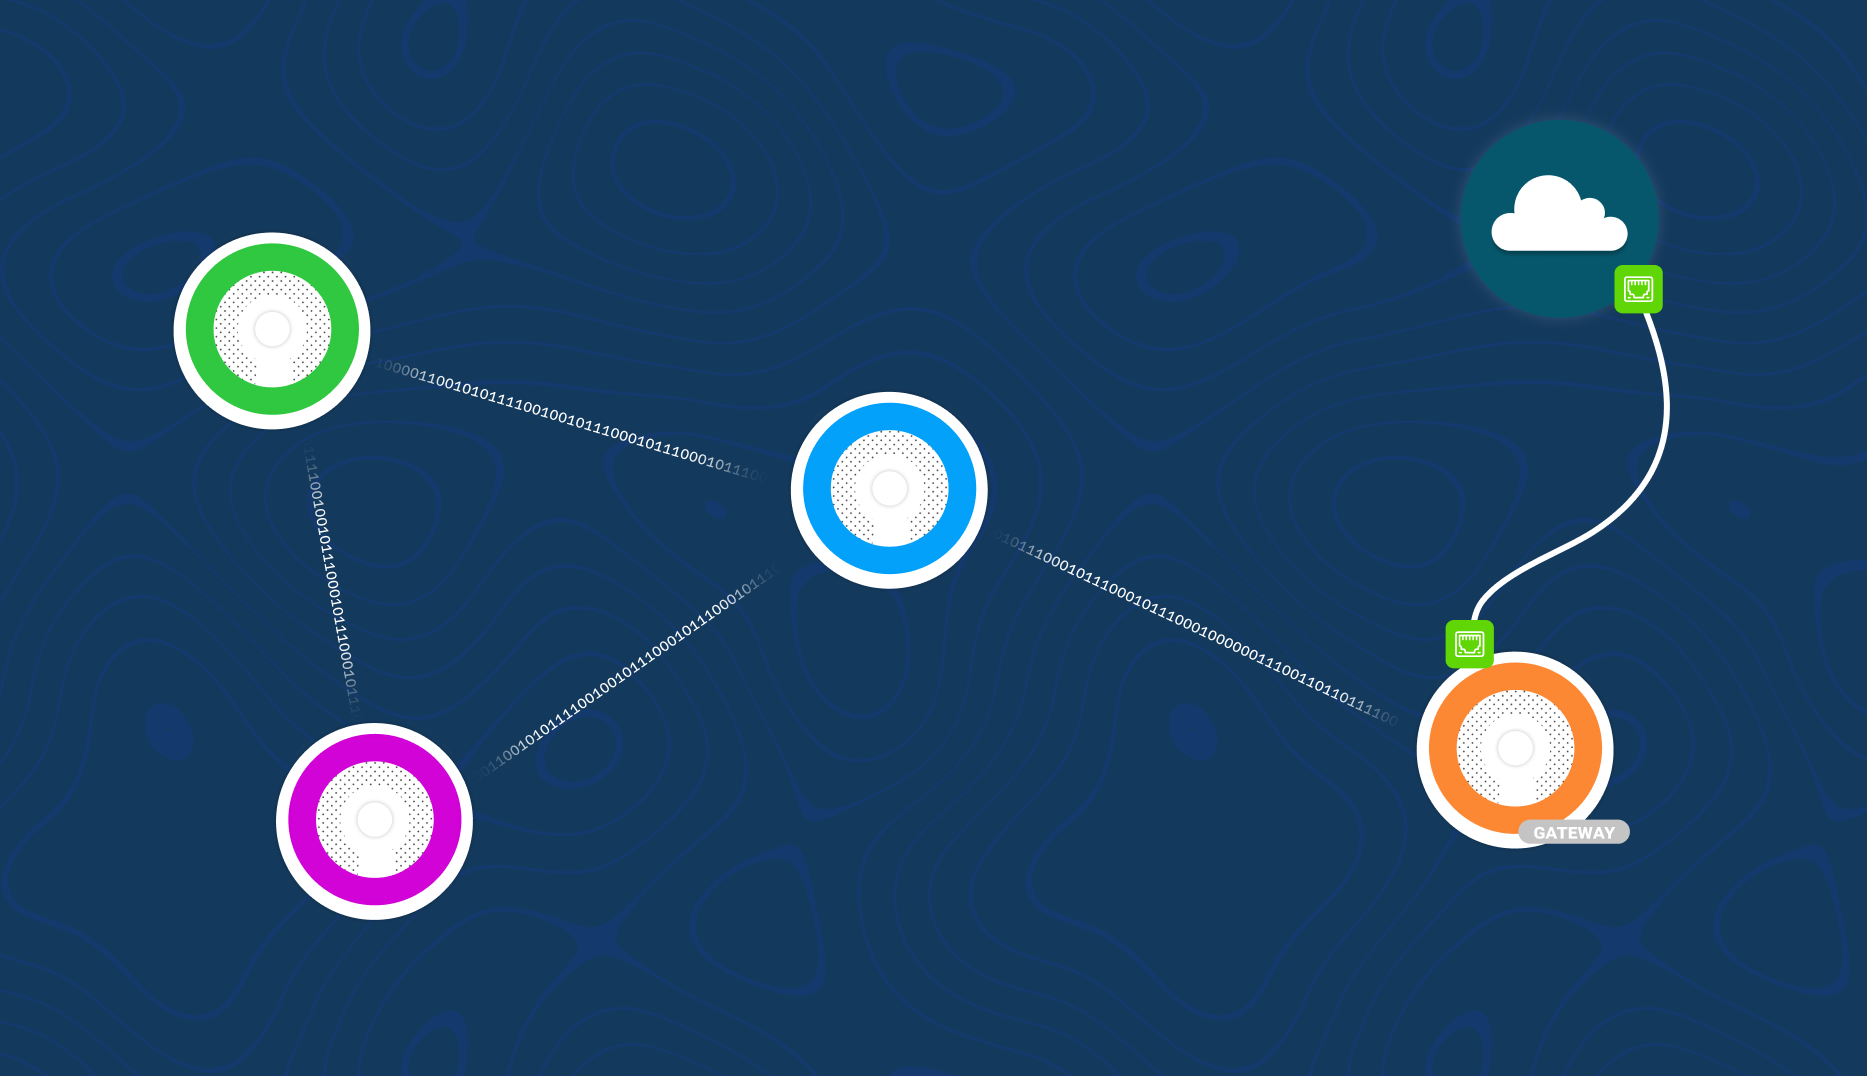
Here's the graphical representation of BLE Mesh network consisting of one viaSens gateway and three nodes.
Provisioning through the mobile app
Provisioning through the mobile app consists of a few steps:
- creating a new project and network (if not present already)
- configuring gateway and nodes & connecting gateway to MQTT broker
- commissioning devices into the same BLE Mesh network (1 gateway + max 15 nodes)
Currently, to add already provisioned device to a new network, a hard reset is required.
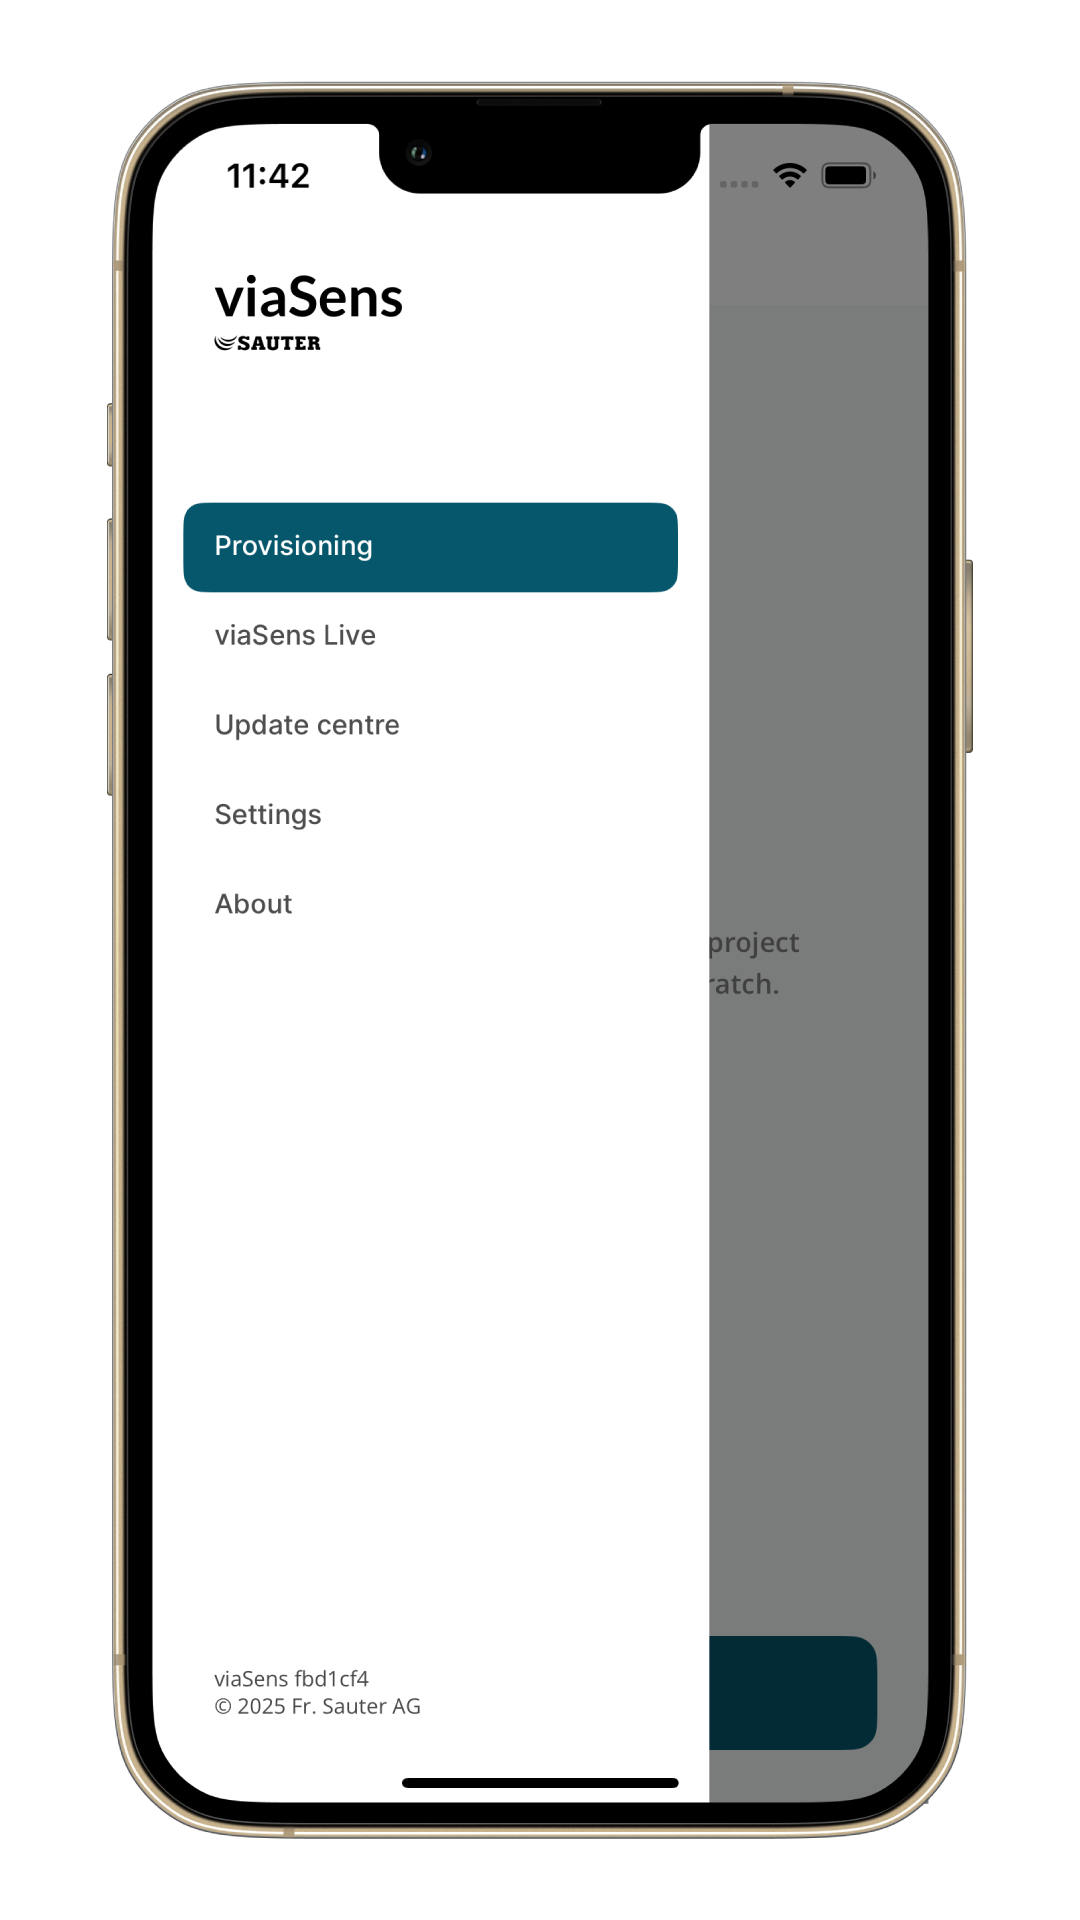
The initial step involves powering on the devices and connecting an Ethernet cable to the gateway. Following this, navigate to the Provisioning screen in the mobile app menu.
Create a new project.
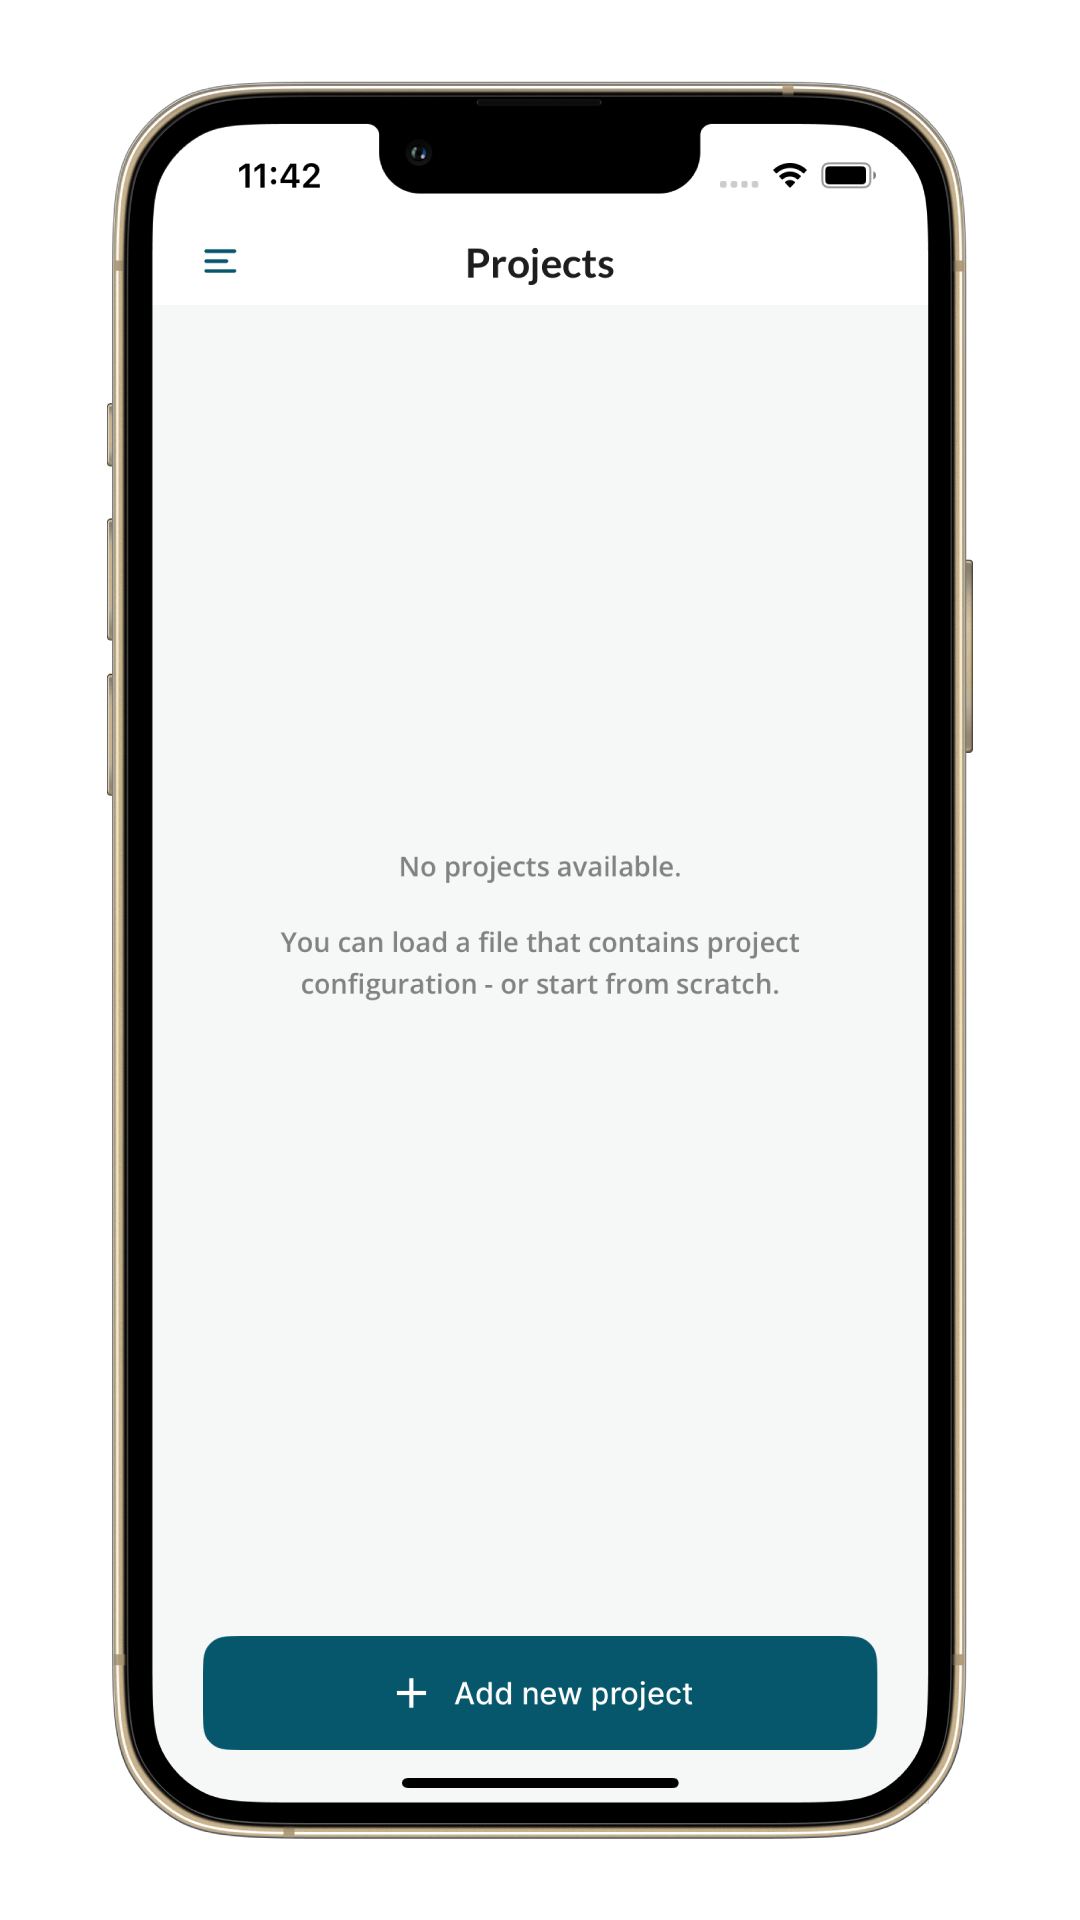
New project can either be created by loading a pre-existing configuration file, or by starting blank. Here we'll be starting with a blank project.

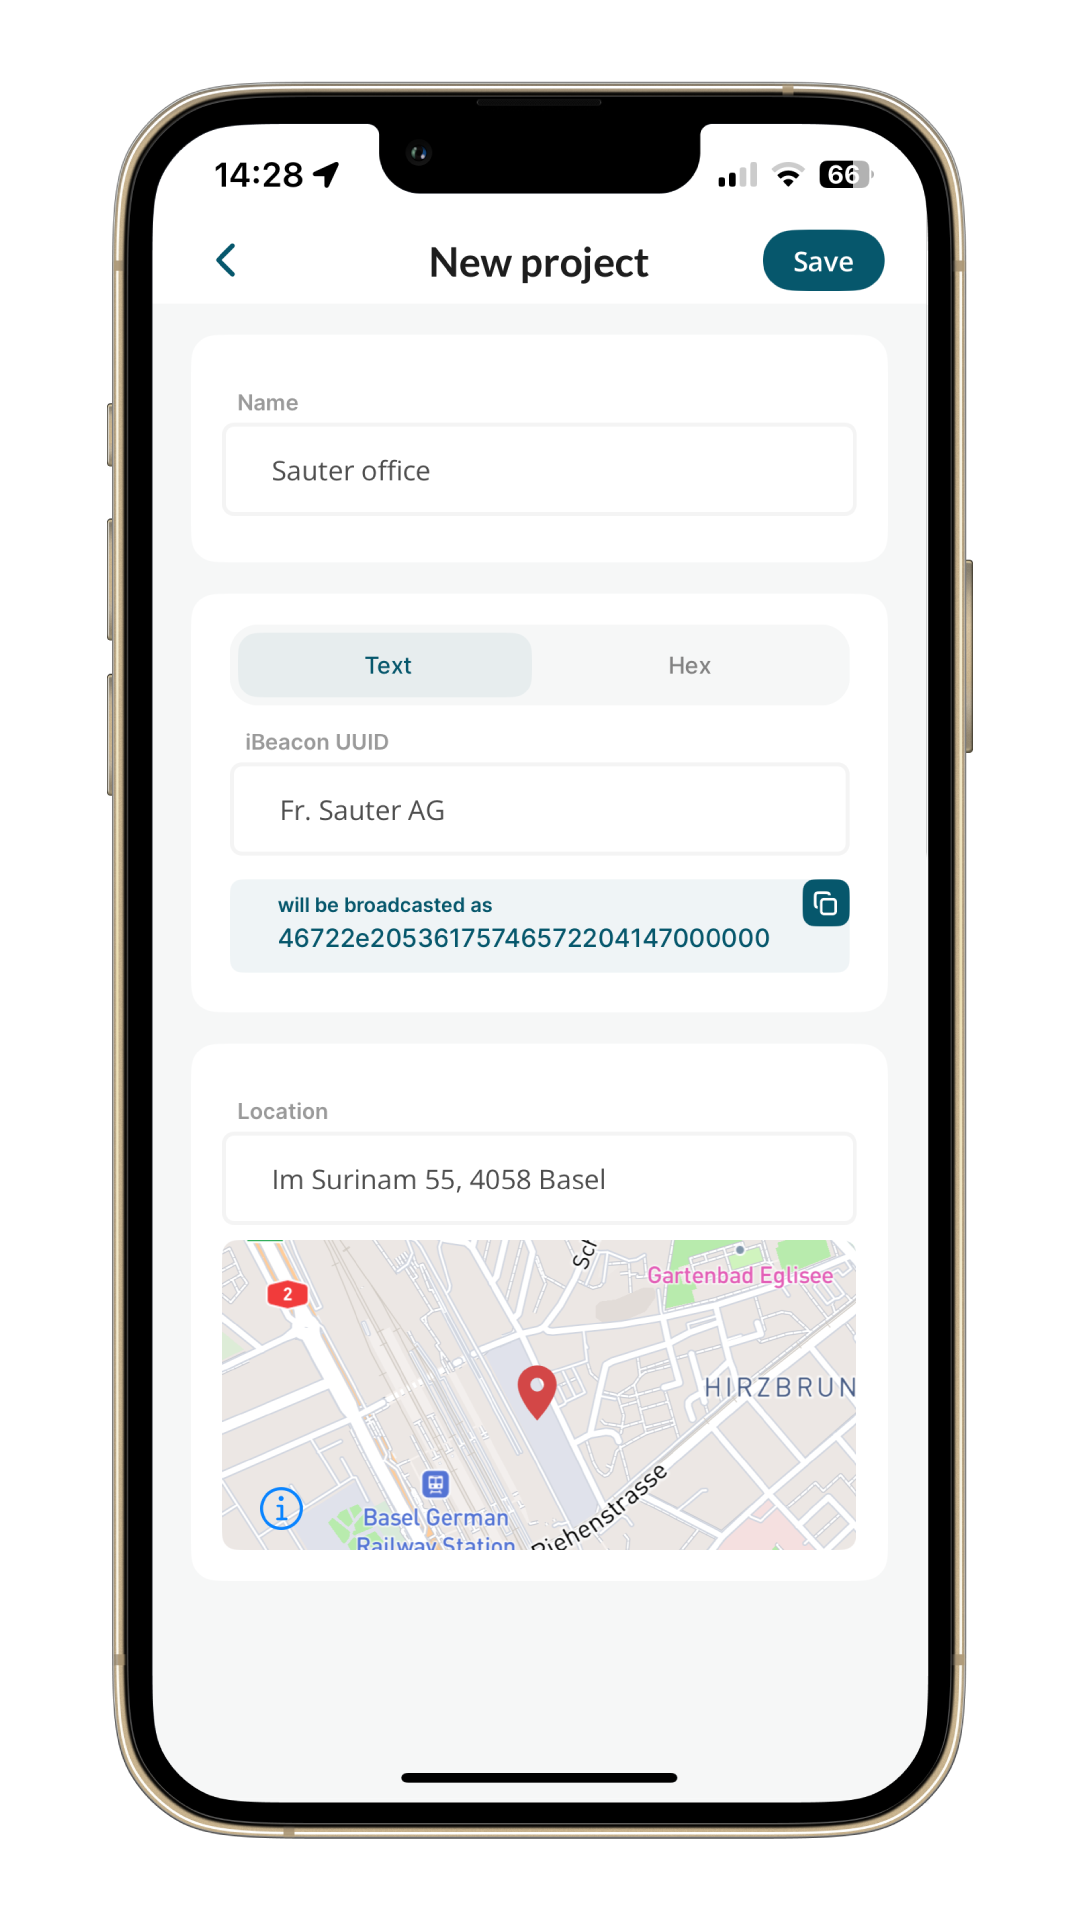
Here's an example of a project configuration.
Add a new network in this project. On the first screen, select which type of network you want to create.
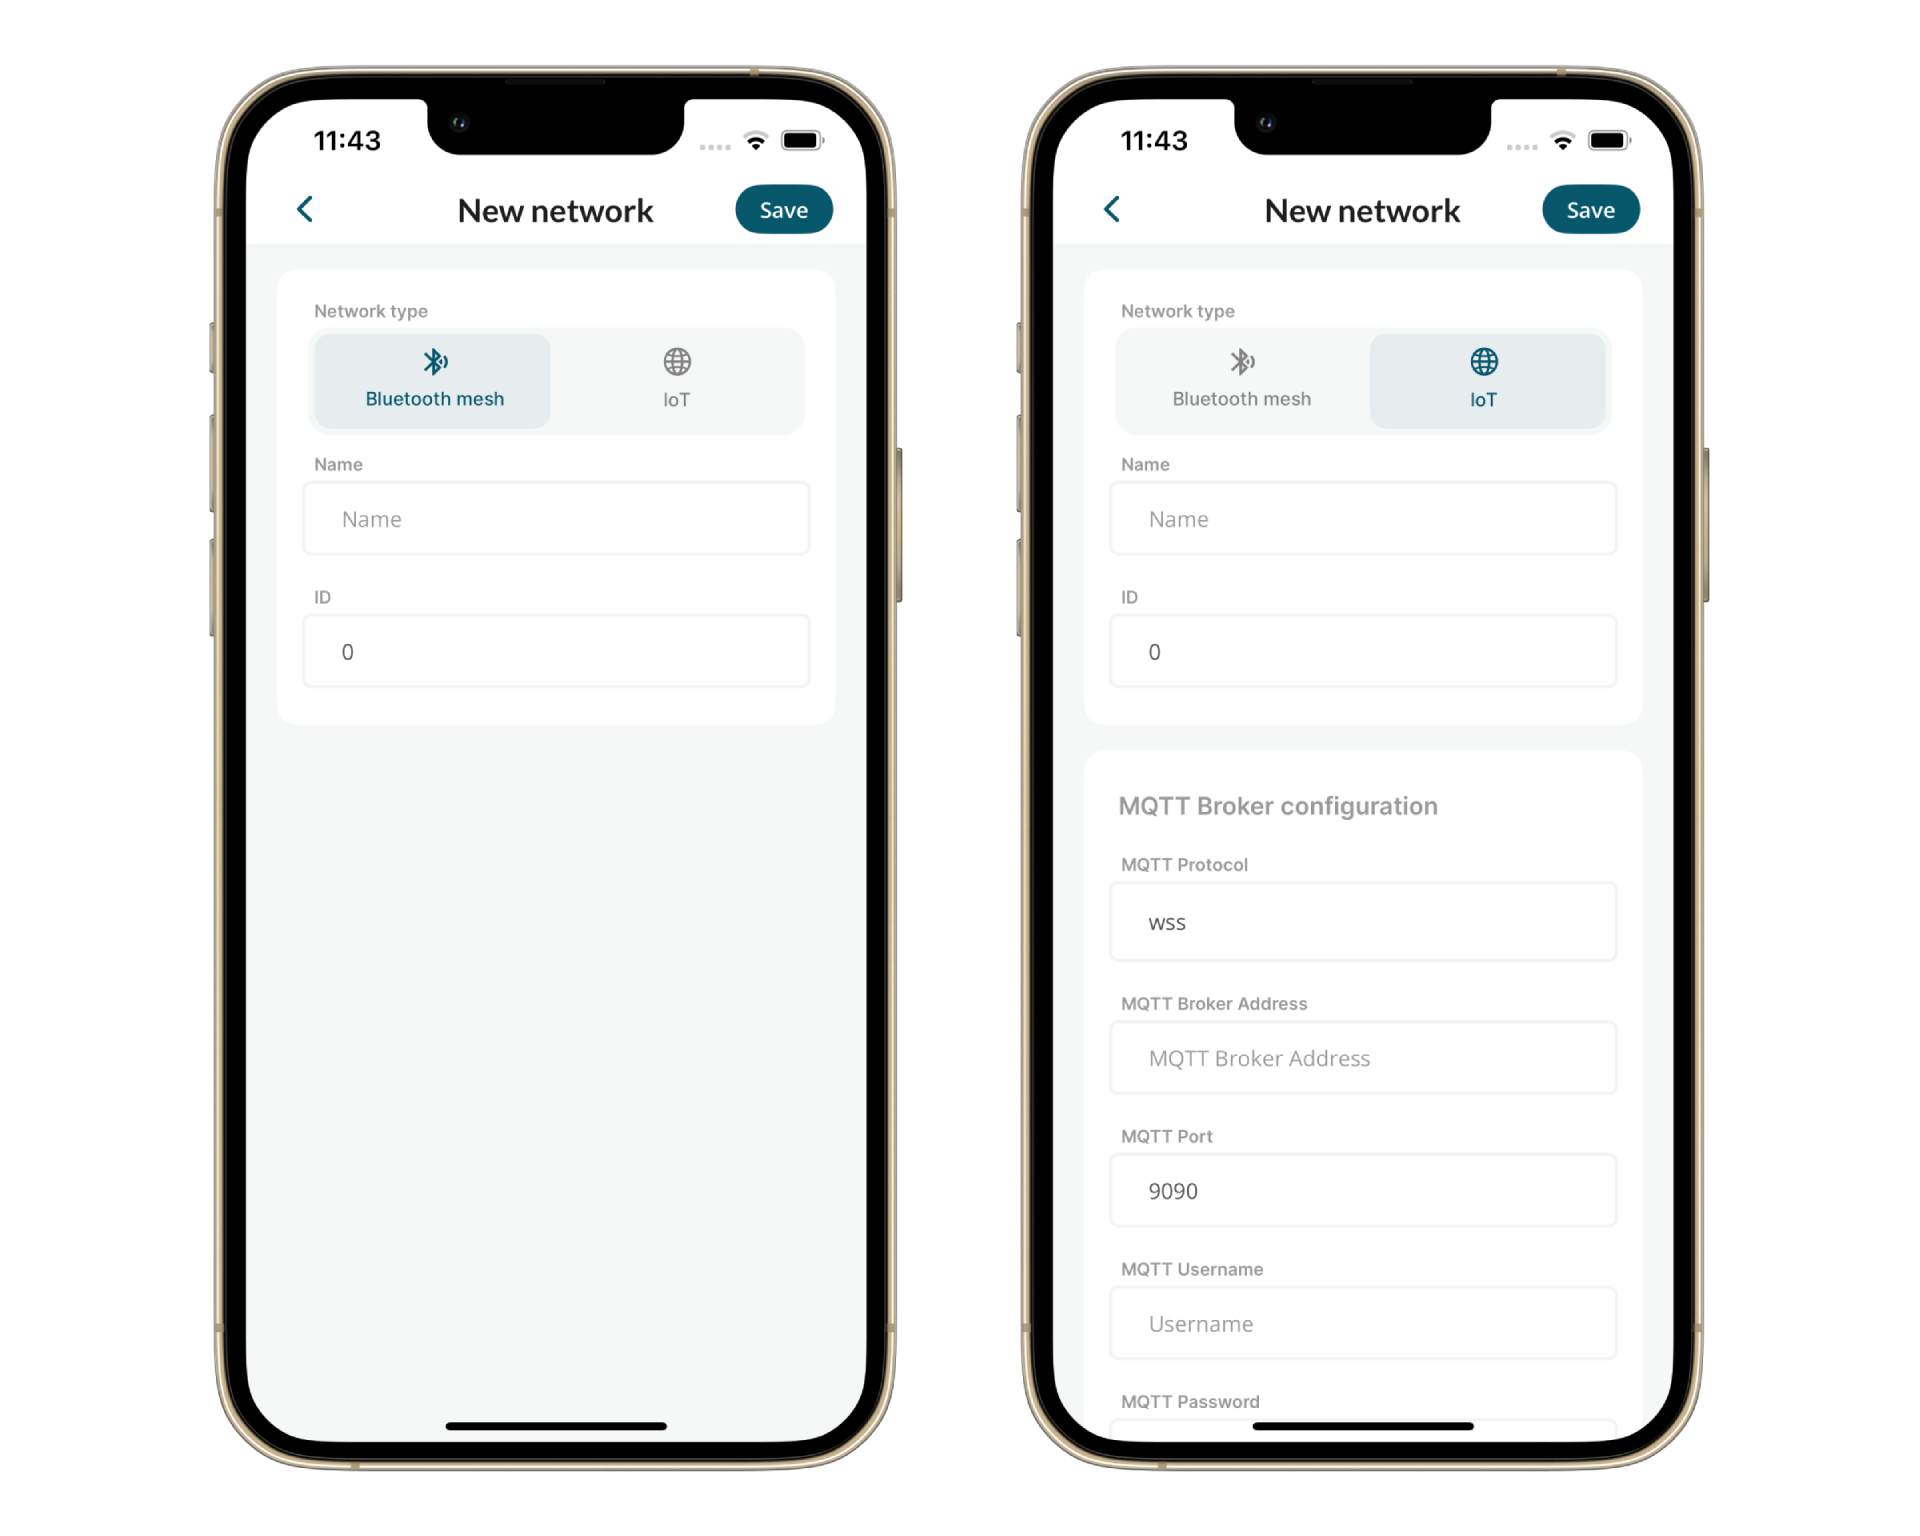
There are two ways to create a network: BLE Mesh or IoT.
Choose the option that fits your project.
- BLE Mesh
- IoT
In a BLE Mesh network, there can be only one gateway connected to the MQTT broker via Ethernet. The other nodes in the network communicate with it through the BLE Mesh protocol, while the gateway is responsible for publishing all packets.
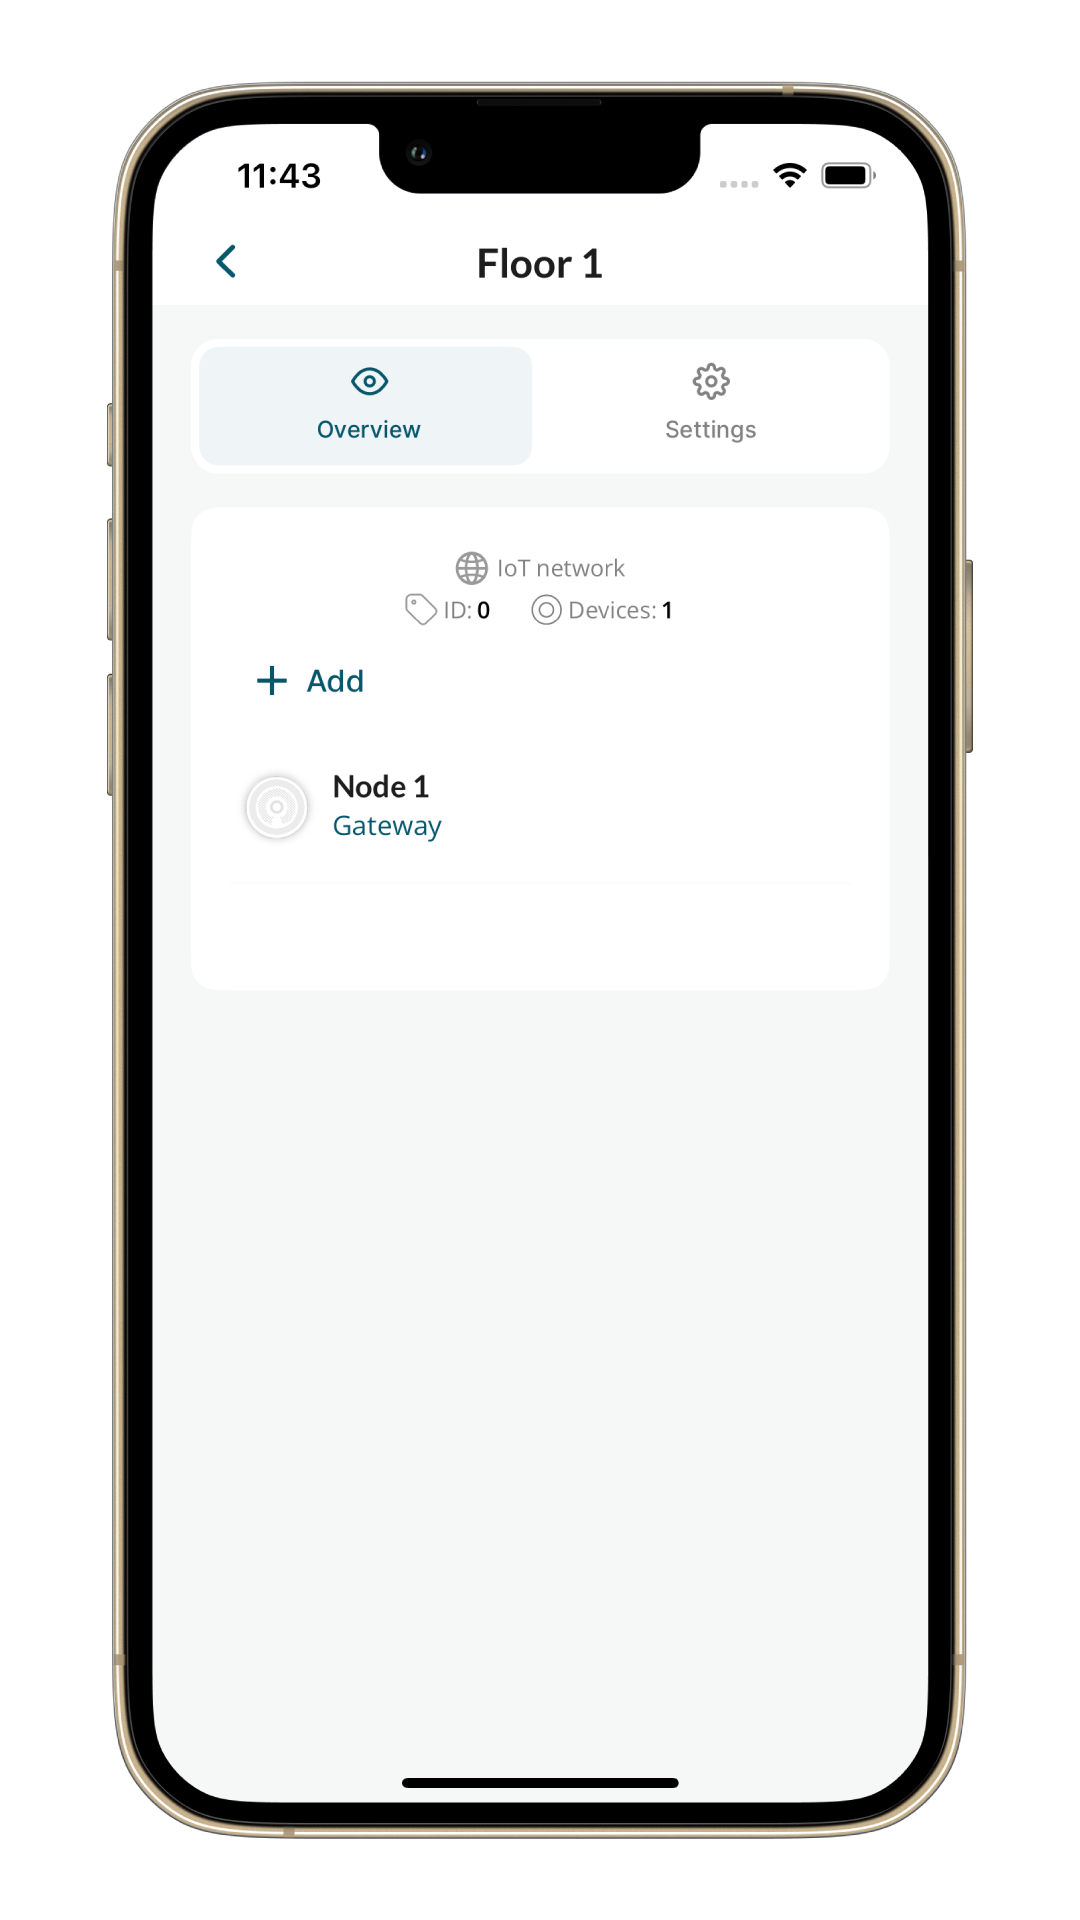
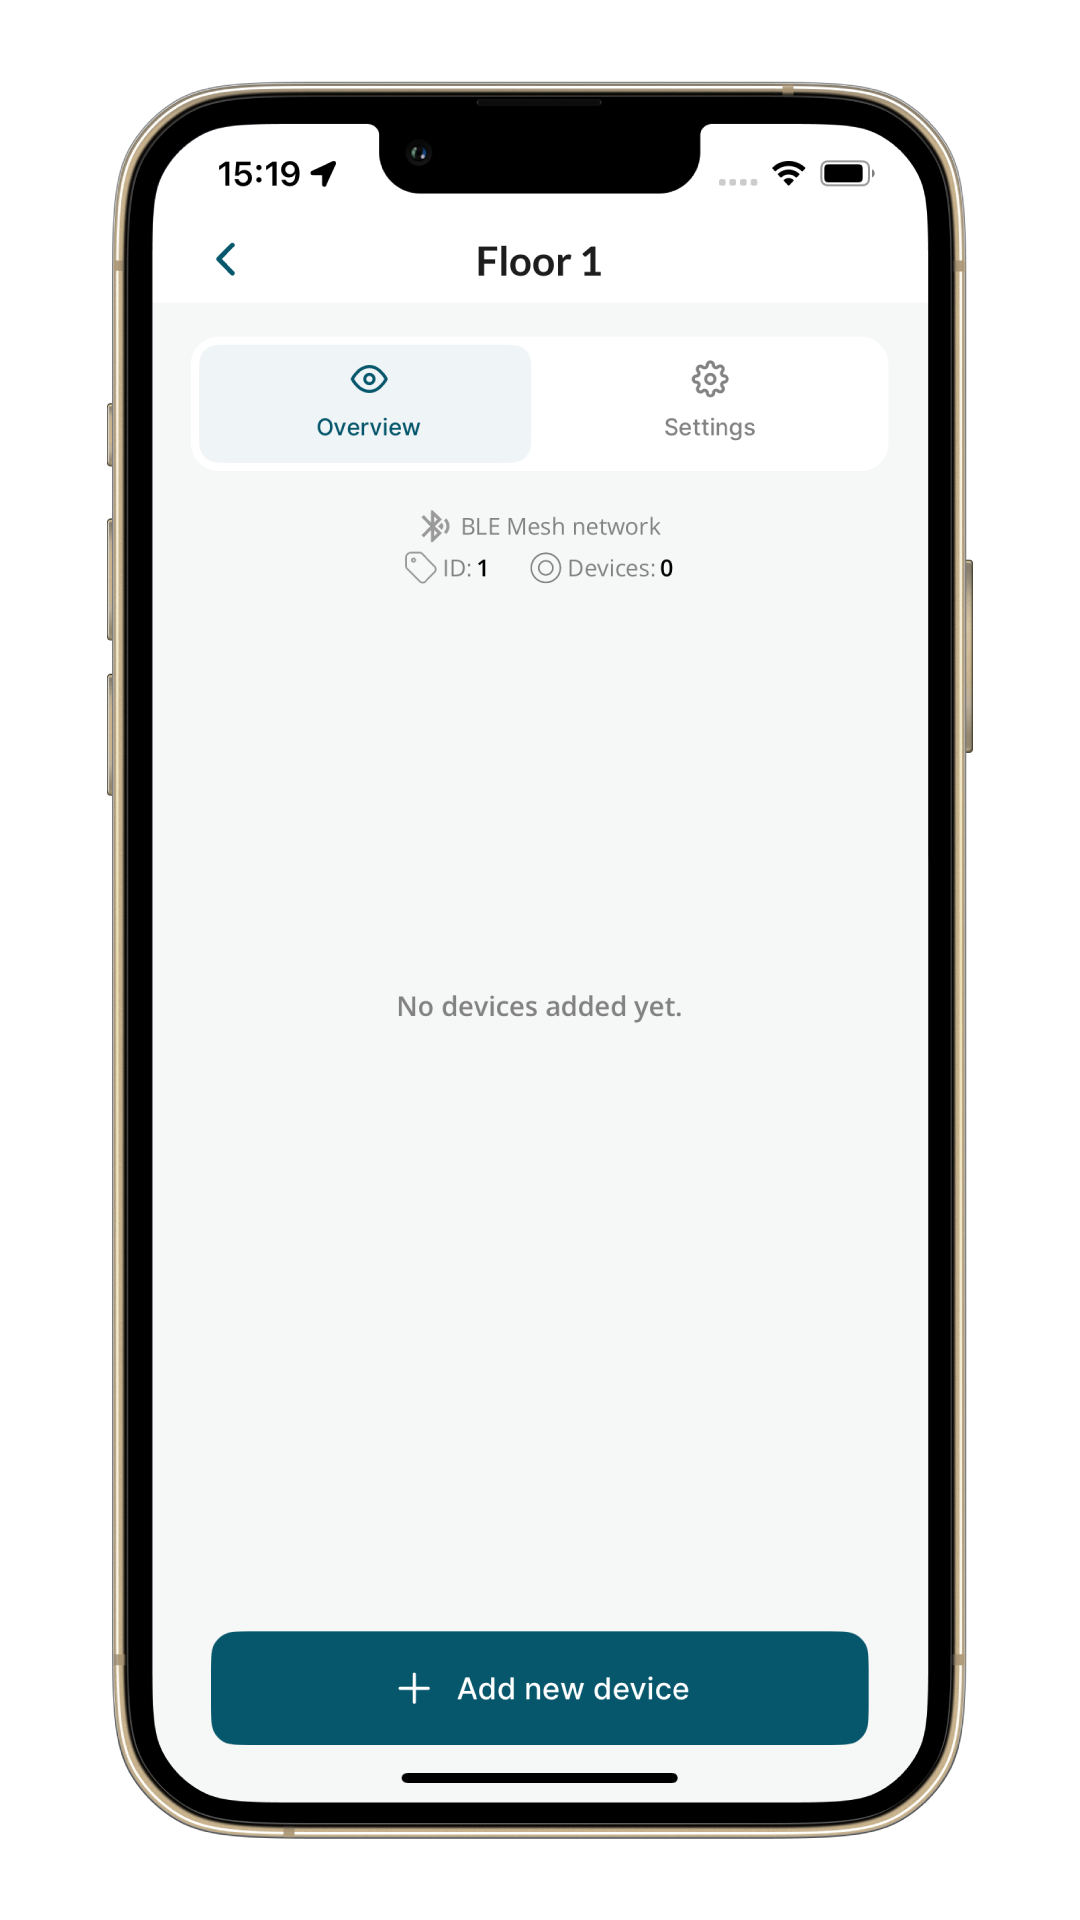
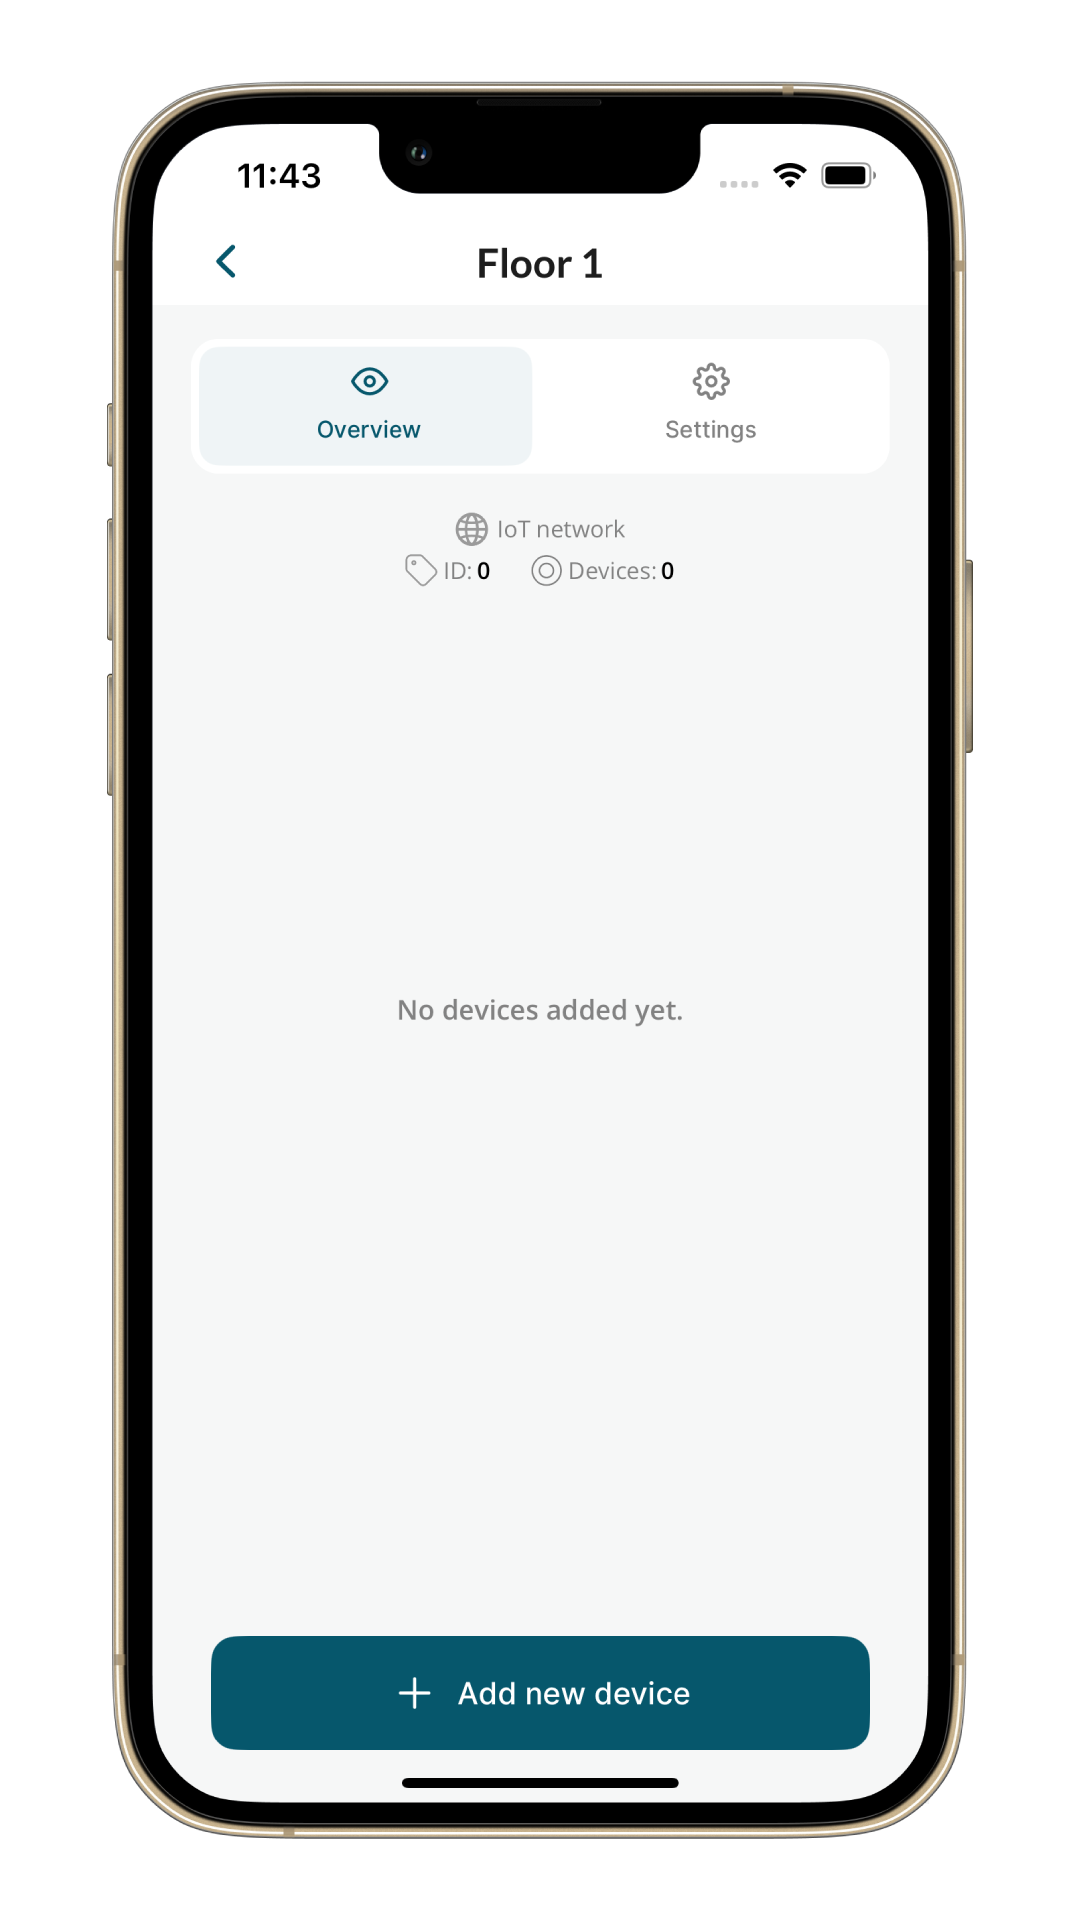
Here's an example of a network configuration.

On network screen, click on Add new device button.
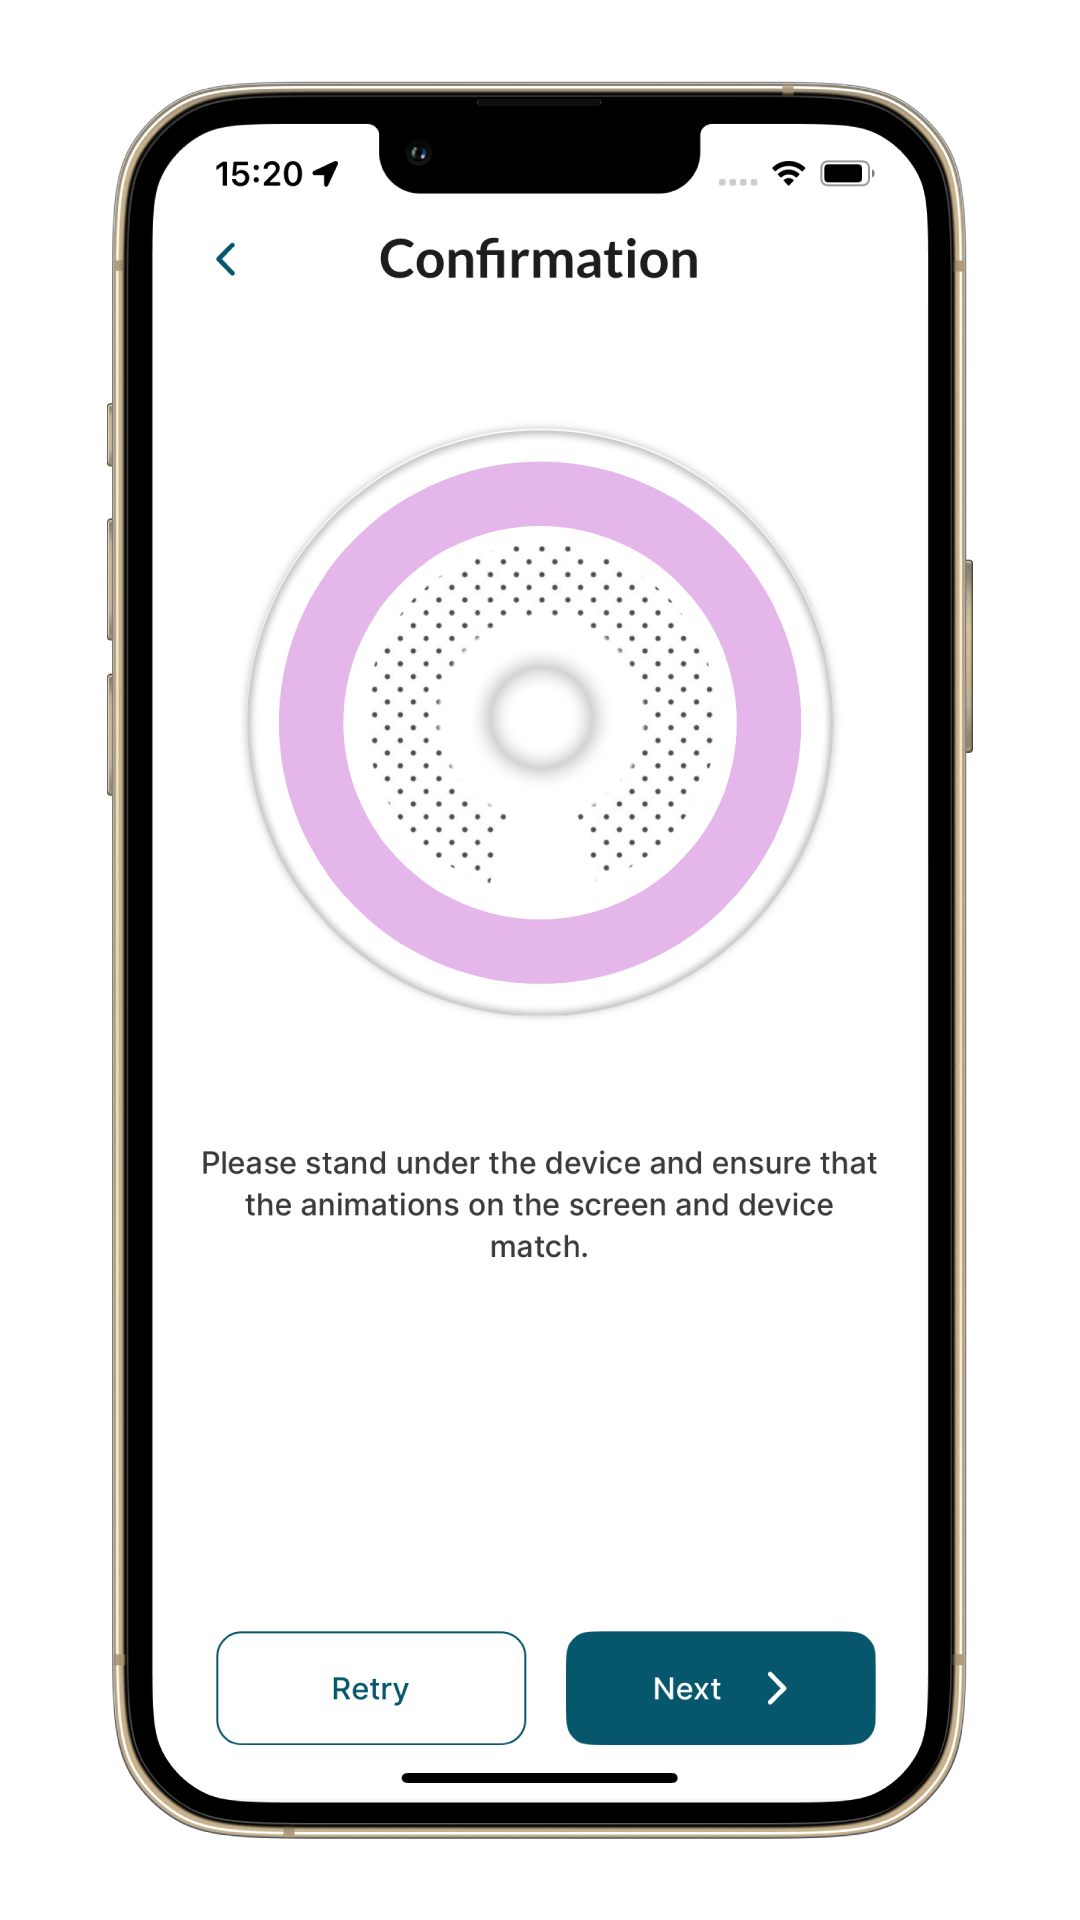
The LEDs on the devices will match the colour displayed in the app. Select a device you want to provision.

Selected device will start blinking. In the next step, confirm that the correct device is blinking.
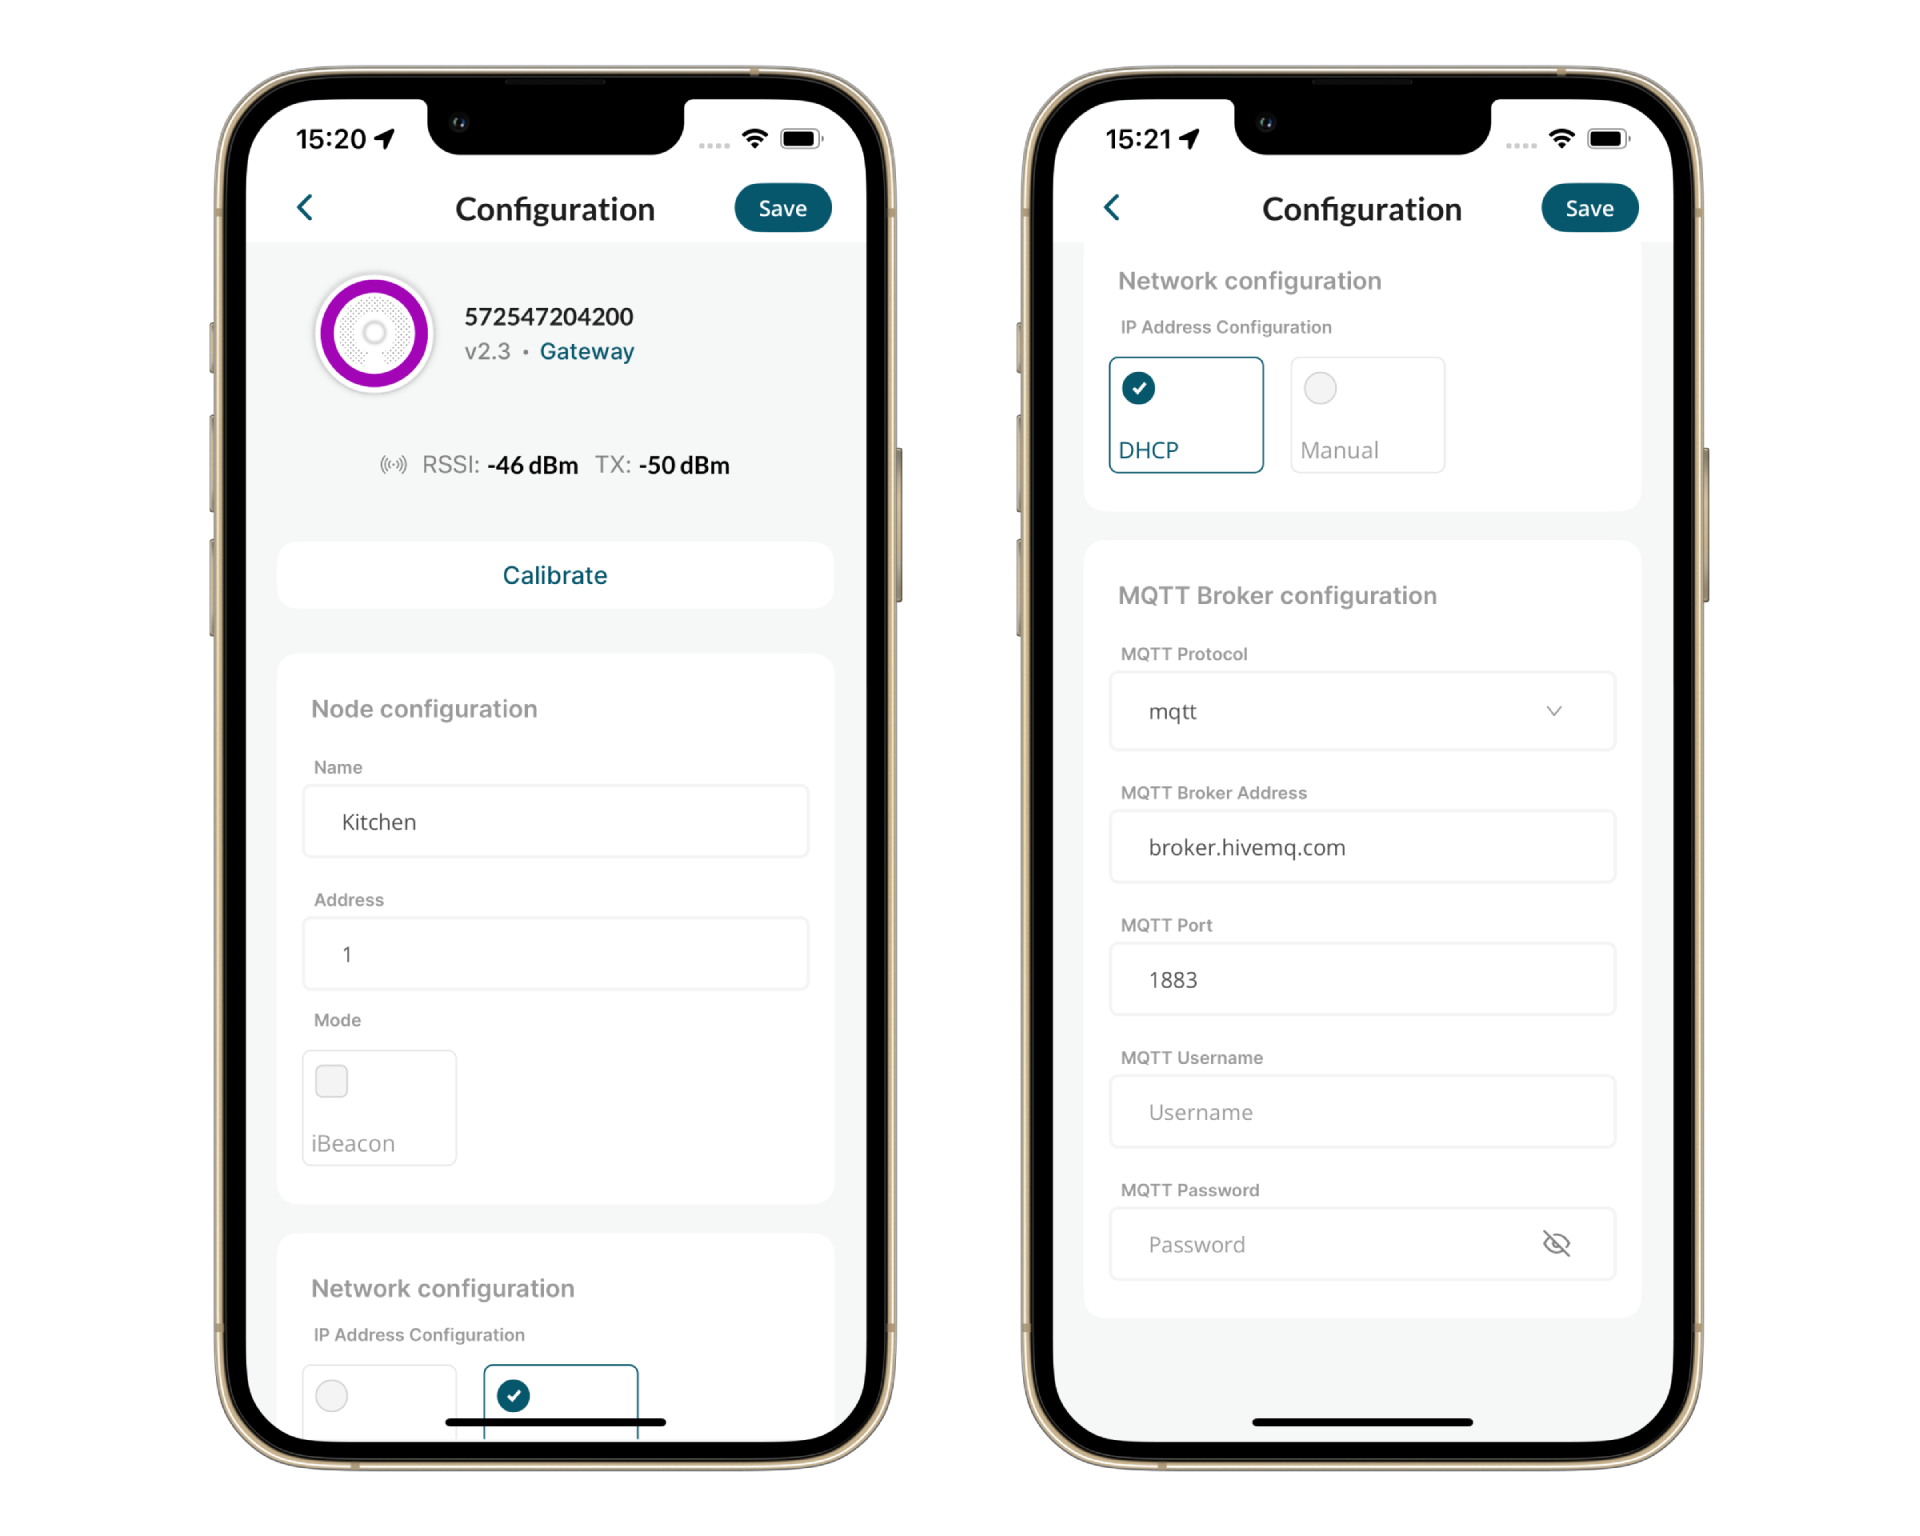
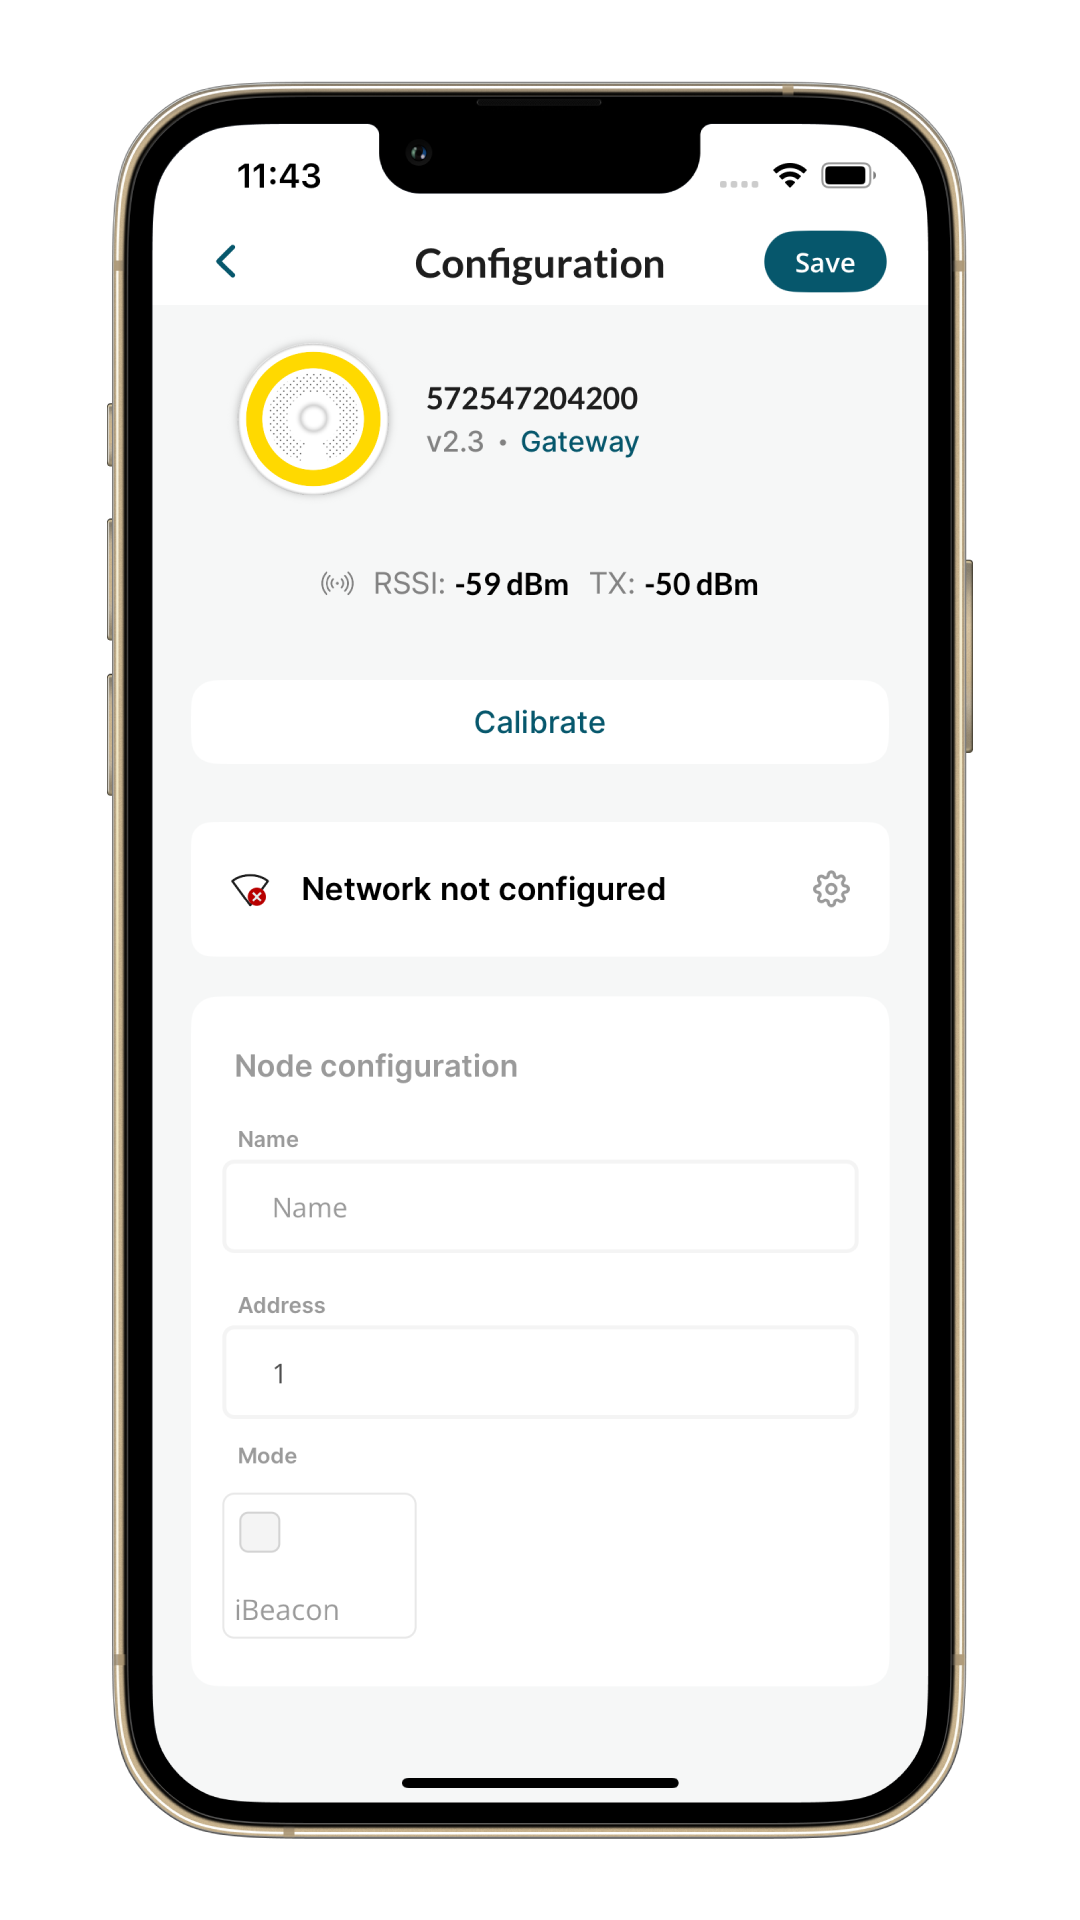
Now the device can be configured. Here's one example of a gateway configuration.
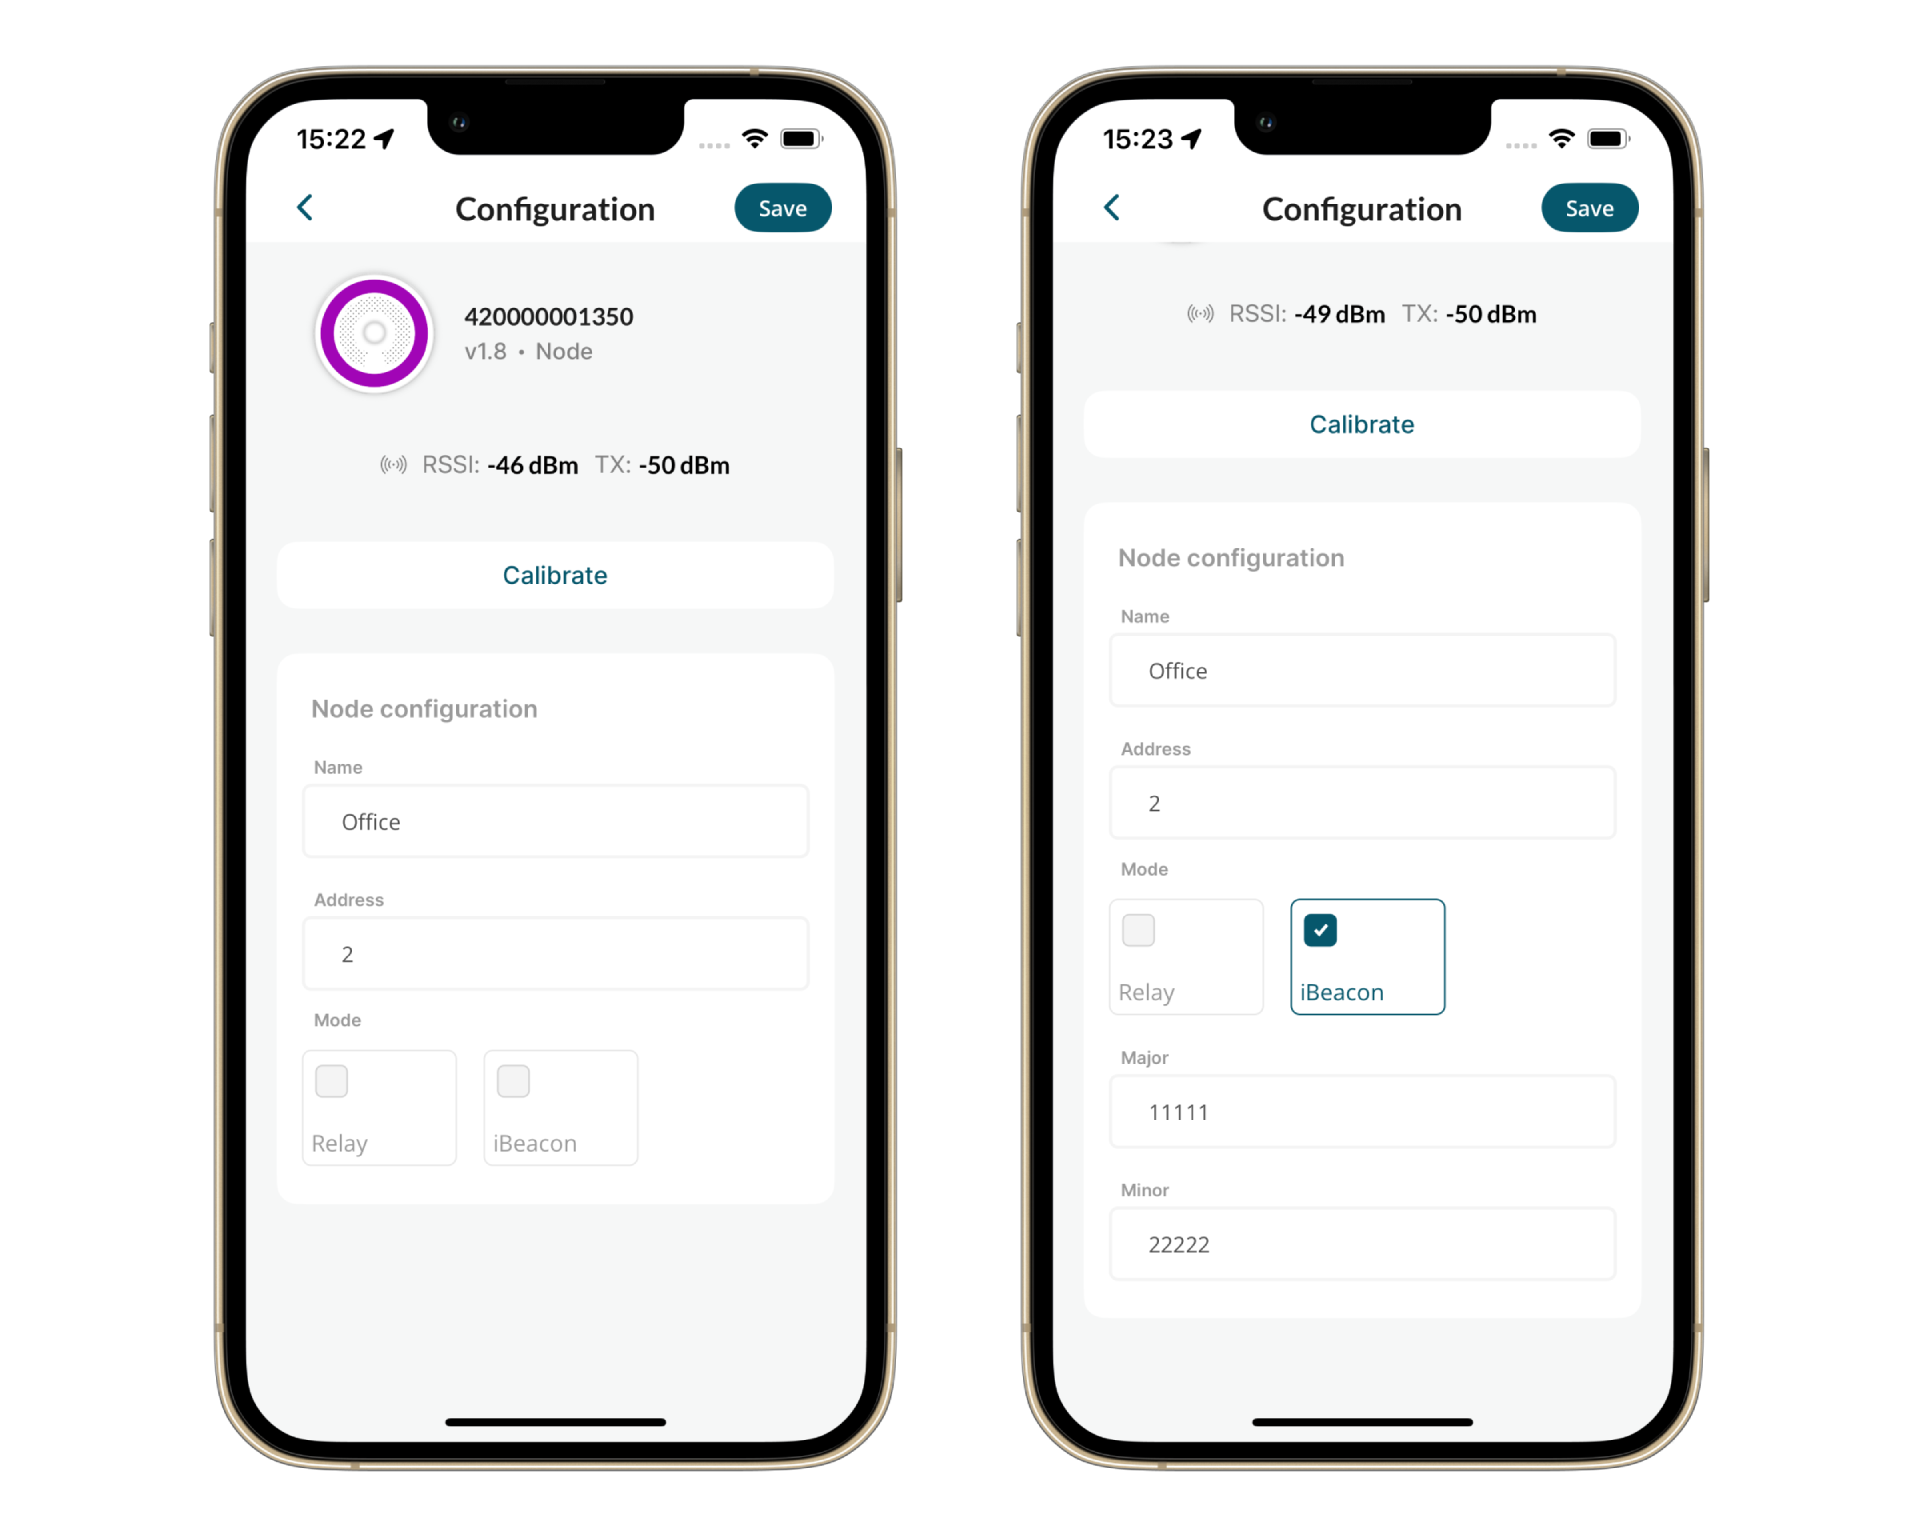
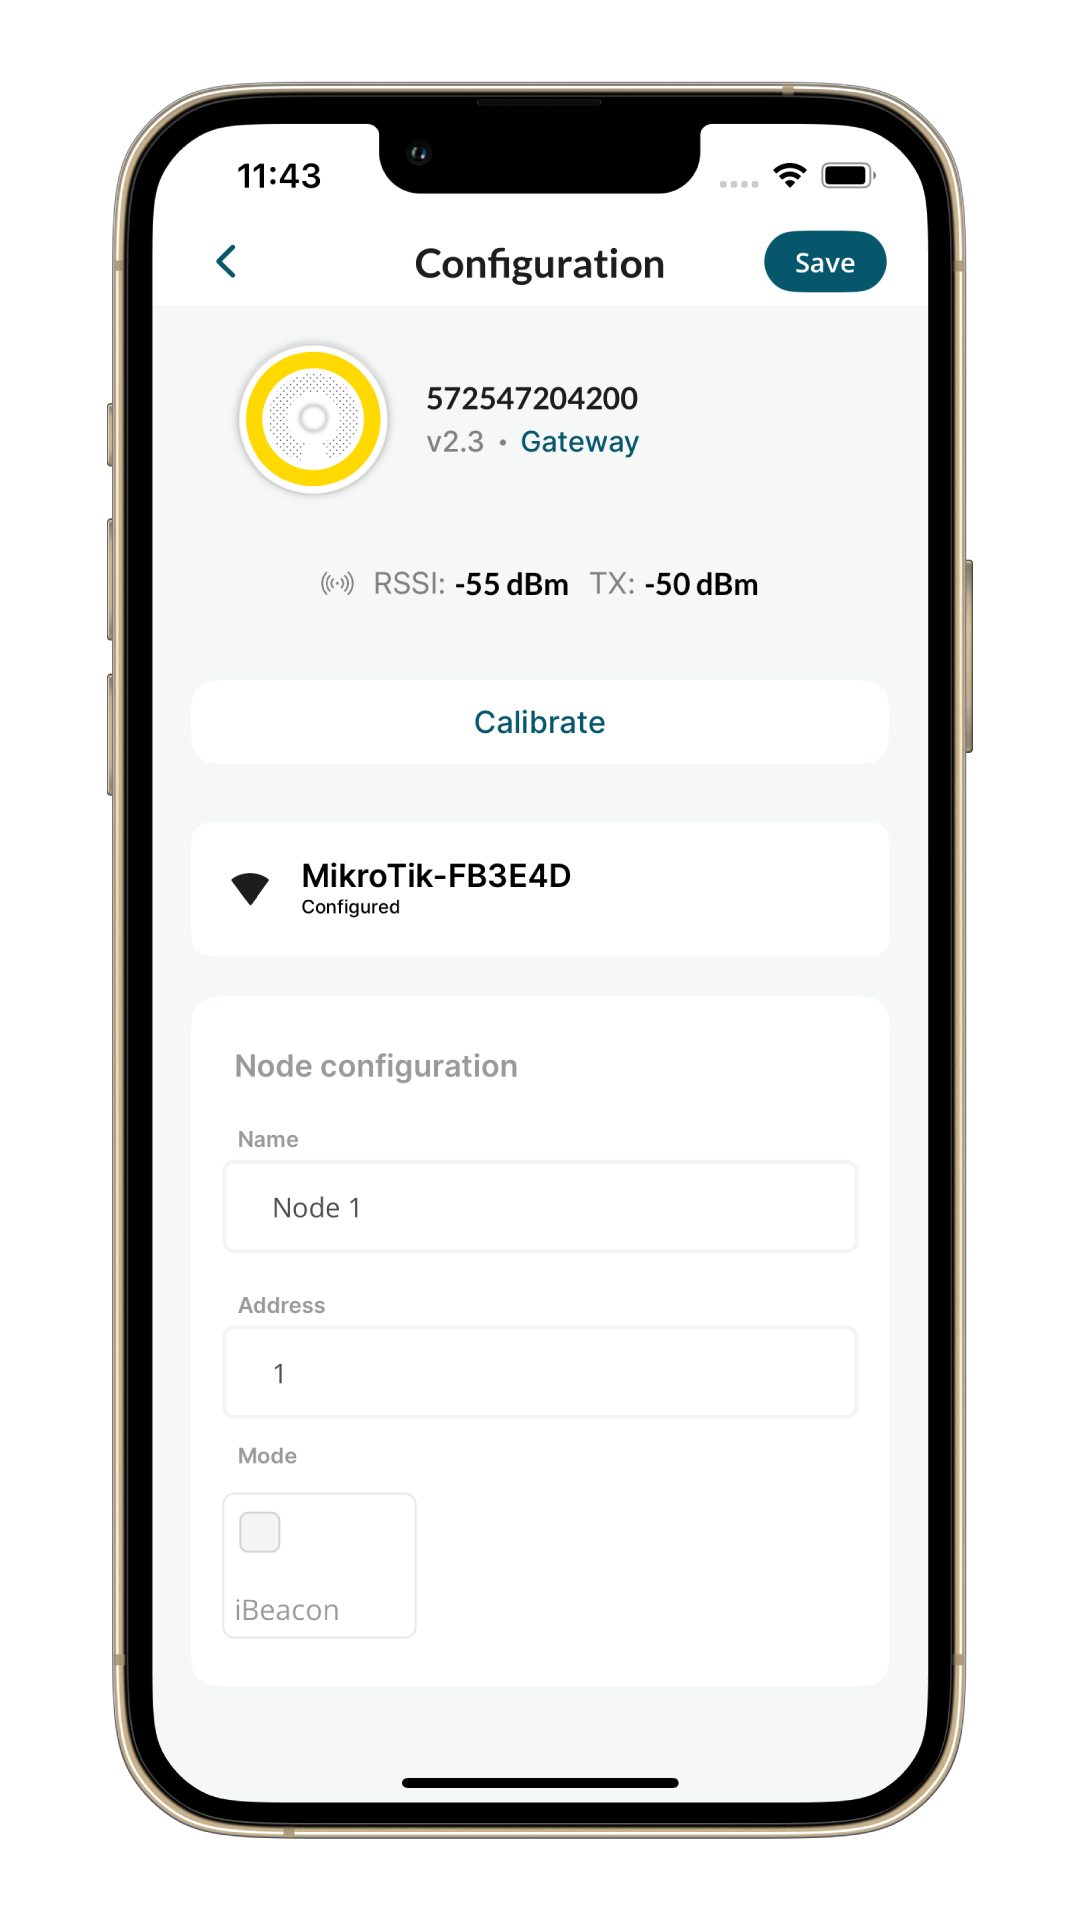
And here's an example of a node configuration.
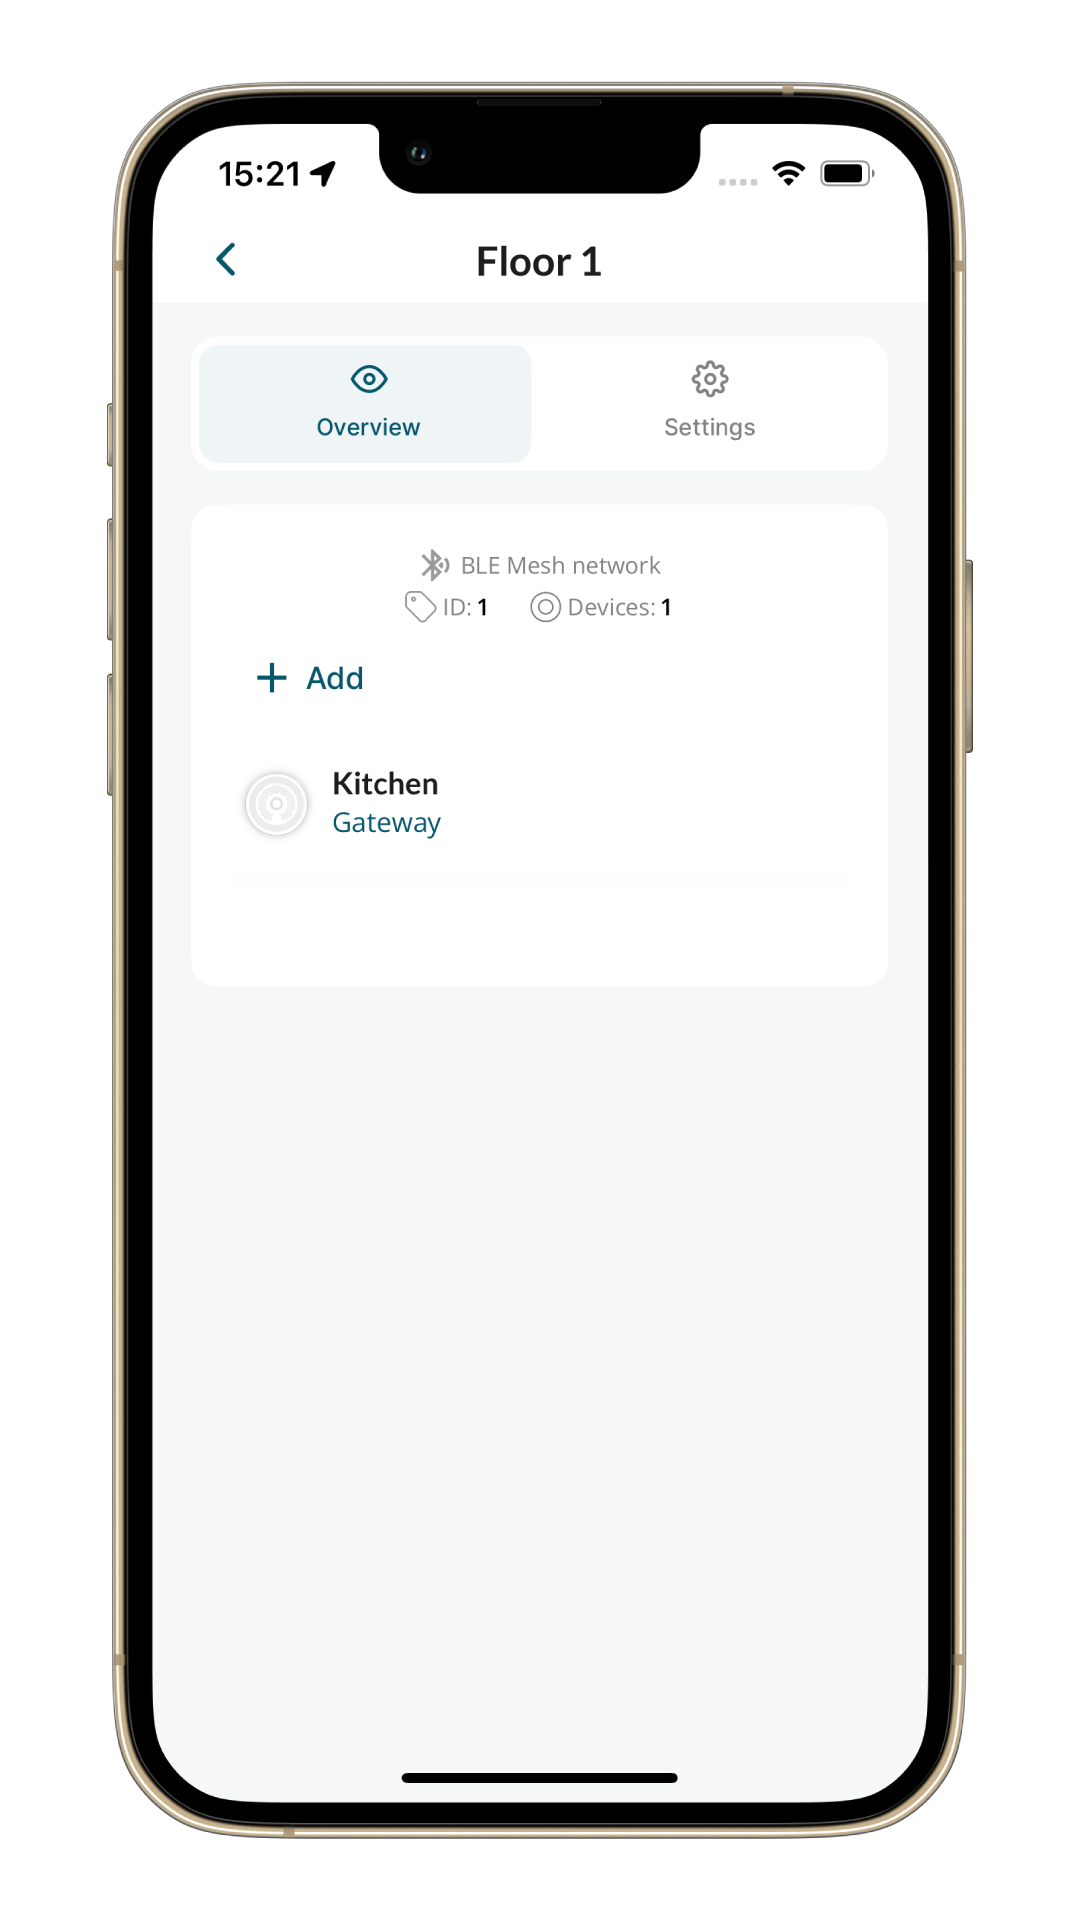
Finally, successfully provisioned devices will be displayed in the network overview.
The device will blink green for five seconds to indicate success or red if an issue occurs.
In an IoT network, each device is independent and directly connected to the MQTT broker. For this reason, each device must be configured with its connection method — either via a Wi-Fi network or Ethernet (if the device supports that option).
Here's an example of an IoT network configuration.
MQTT broker configuration is defined at the network level and must be provided during network creation.

On the network screen, click on Add new device button.
The LEDs on the devices will match the colour displayed in the app. Select a device you want to provision.

The selected device will start blinking. In the next step, confirm that the correct device is blinking.

Now the device can be configured.
In an IoT network, it is required that devices are connected to the internet.
For gateway devices, you can choose between Ethernet or Wi-Fi connection while nodes support only Wi-Fi.
Ethernet will be detected automatically, while for Wi-Fi you need to enter the configuration manually.
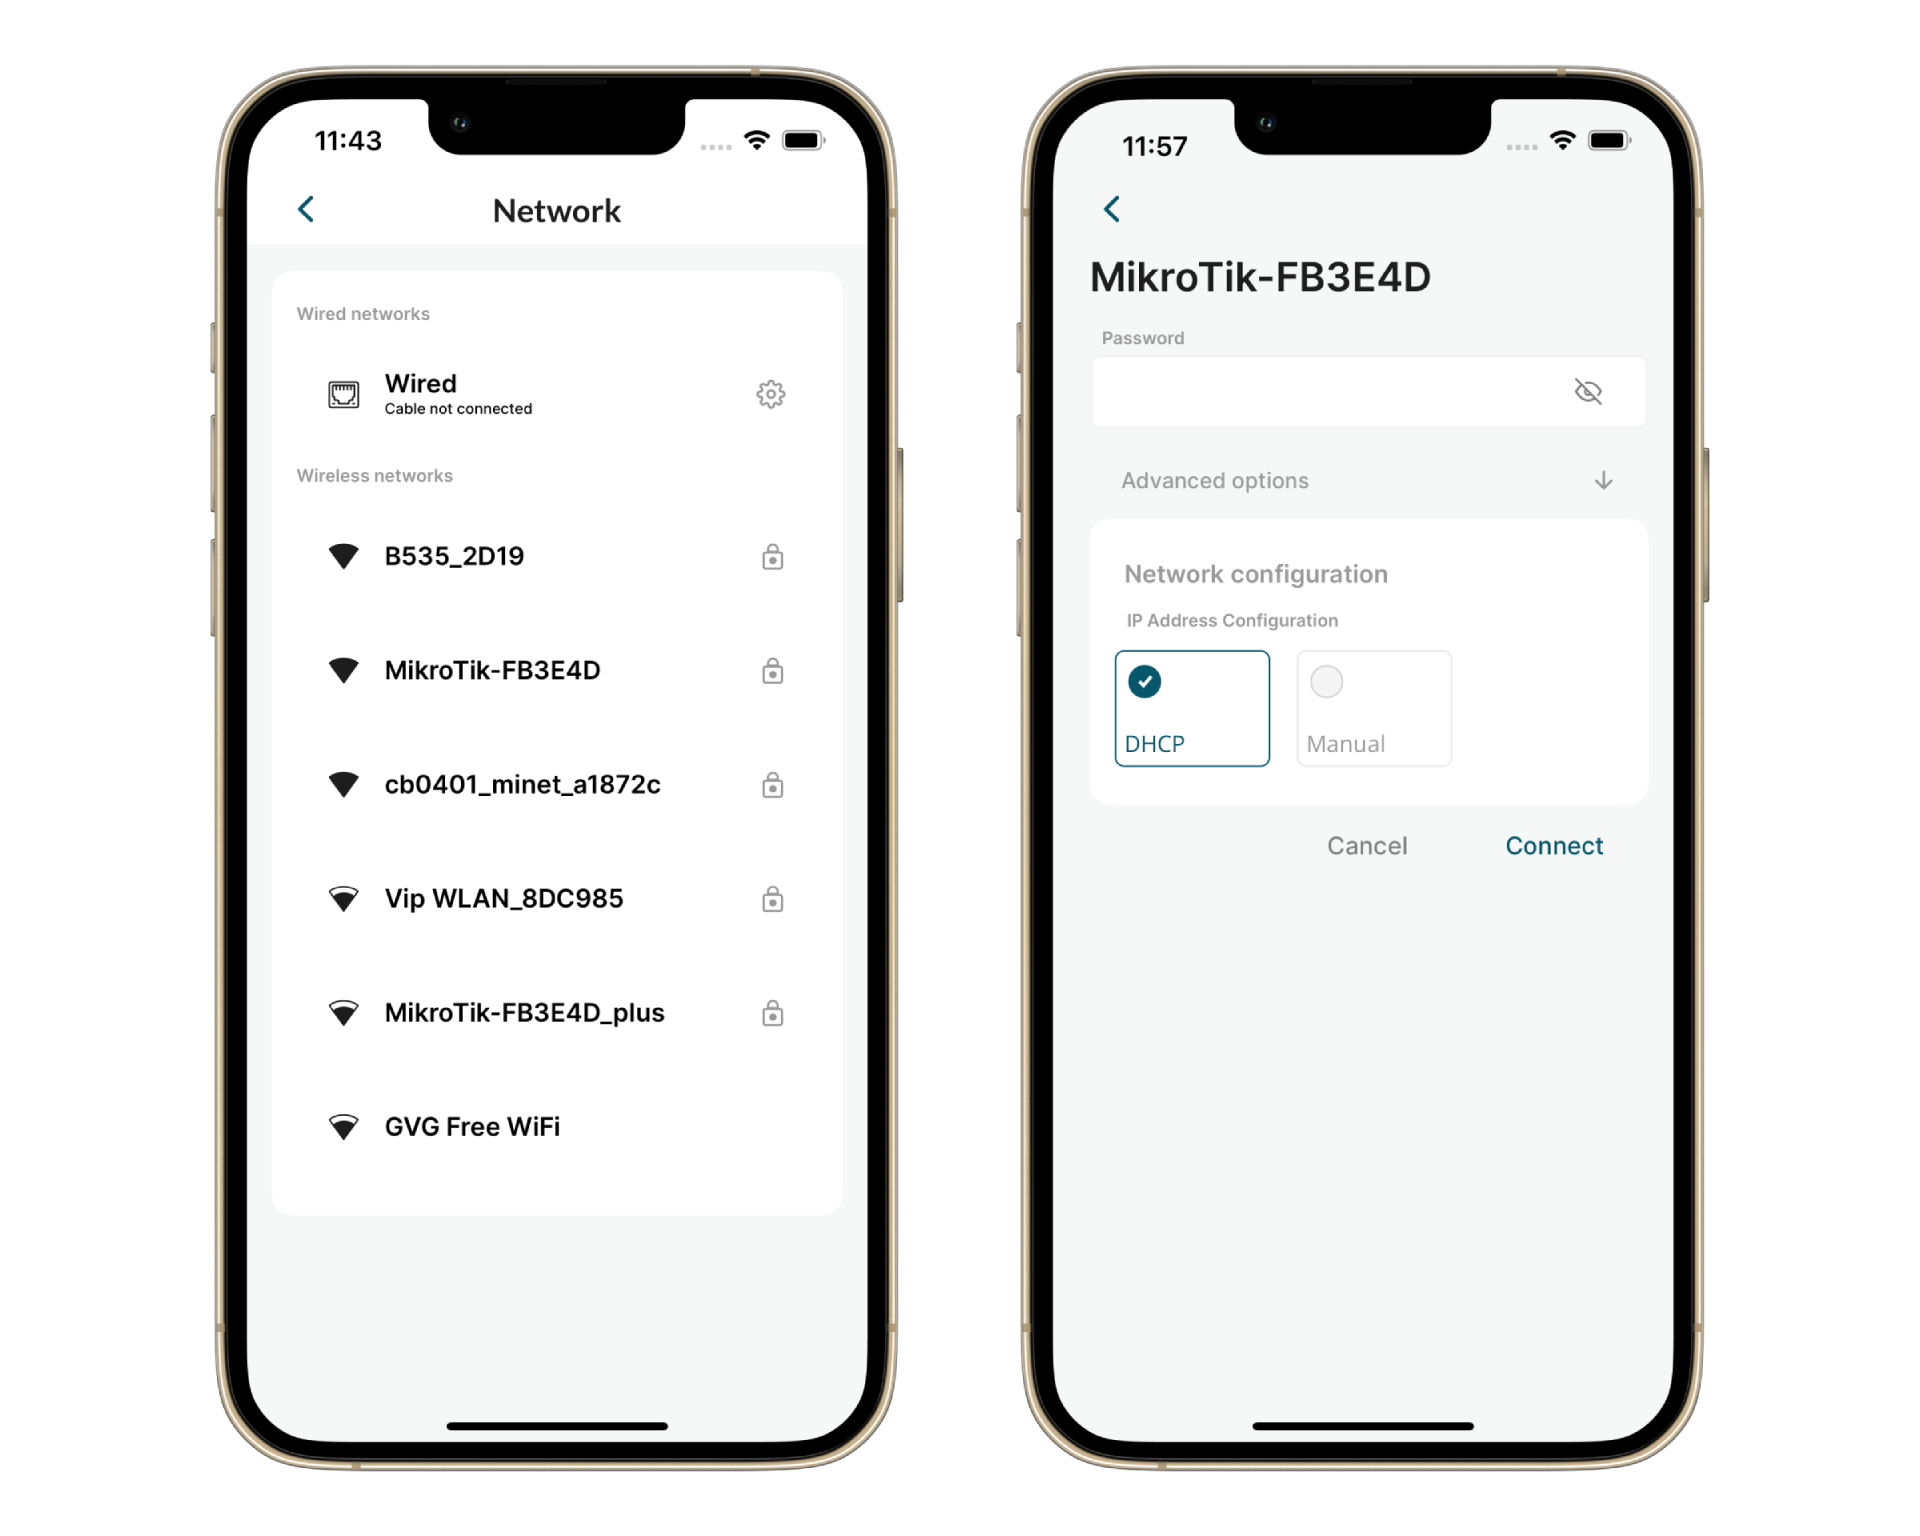
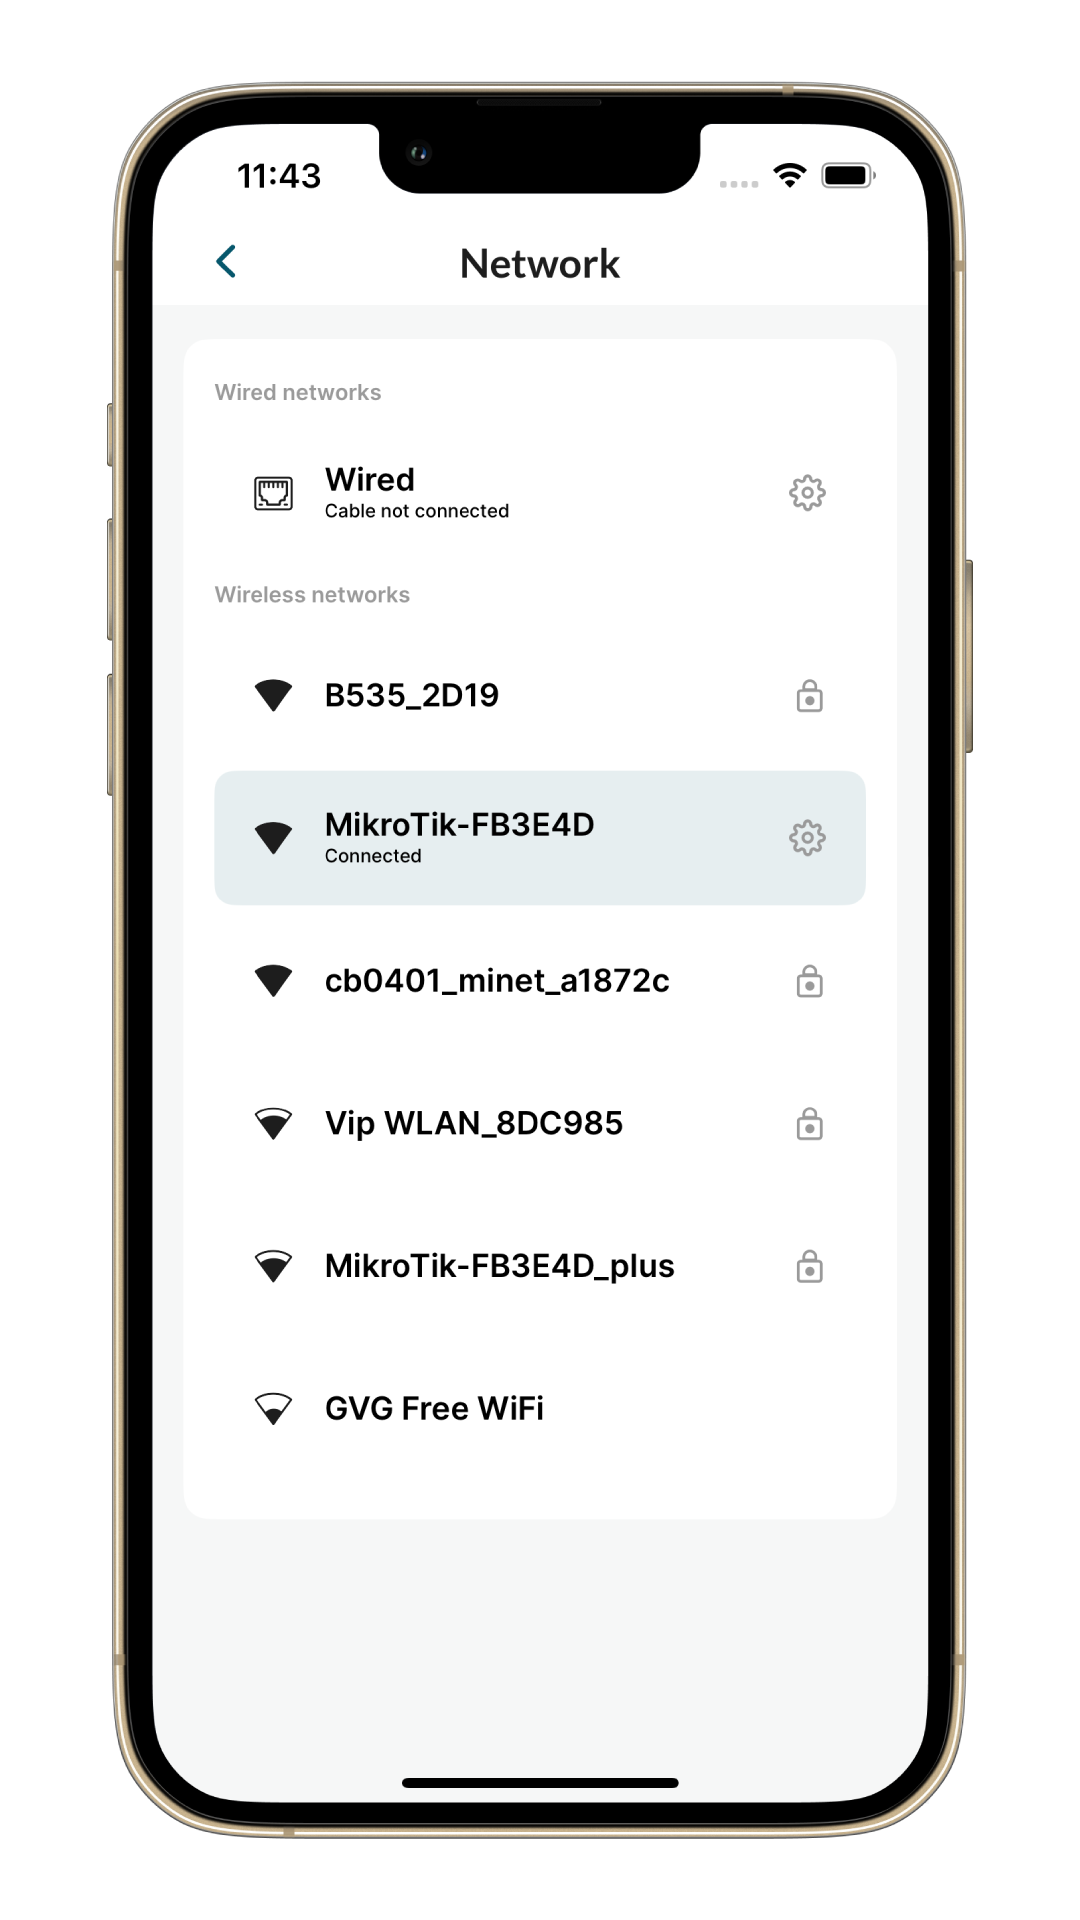
After a successful connection, the status will indicate that the device is connected to Wi-Fi.
Here’s an example of a successful configuration.
Finally, successfully provisioned devices will be displayed in the network overview.
The device will blink green for five seconds to indicate success or red if an issue occurs.